You probably toss away a small fortune every week in the form of vegetable nubs, stems, and roots. According to recent data from the Bureau of Labor Statistics, the cost of food at home continues to fluctuate, often squeezing the average household budget. While you cannot control global supply chains or inflation, you can control how much of your grocery haul ends up in the trash bin. Kitchen scrap gardening allows you to bypass the produce aisle for certain staples, turning what most people consider waste into a perpetual source of free food.
This process—often called “regrowing”—uses the natural regenerative properties of plants to produce new edible growth from the leftovers of your last meal. You do not need a sprawling backyard or expensive raised beds to get started; a sunny windowsill and a few glass jars will suffice. By mastering the art of frugal gardening, you reduce your grocery bill and gain a more resilient kitchen.

The Financial Logic of Regrowing Your Groceries
Think about the last time you bought a bunch of green onions. You likely used the green tops and threw the white bulbous ends into the compost or trash. Within a week, those discarded ends could have yielded a second full harvest of greens. When you multiply this across several different types of produce, the savings begin to compound. It is not just about the two dollars saved on onions; it is about the intentionality of your spending habits.
“It’s not your salary that makes you rich, it’s your spending habits.” — Charles A. Jaffe
By treating your kitchen scraps as assets rather than refuse, you adopt a mindset of abundance. This strategy aligns with the USDA Food & Nutrition guidelines for reducing food waste, which is a major contributor to hidden household costs. Every inch of lettuce or celery you regrow represents a micro-investment that pays dividends in the form of a lower checkout total.
1. Green Onions (Scallions)
Green onions are the “gateway drug” of kitchen scrap gardening because they offer nearly instant gratification. They require almost zero effort and grow remarkably fast—sometimes up to an inch in a single day.
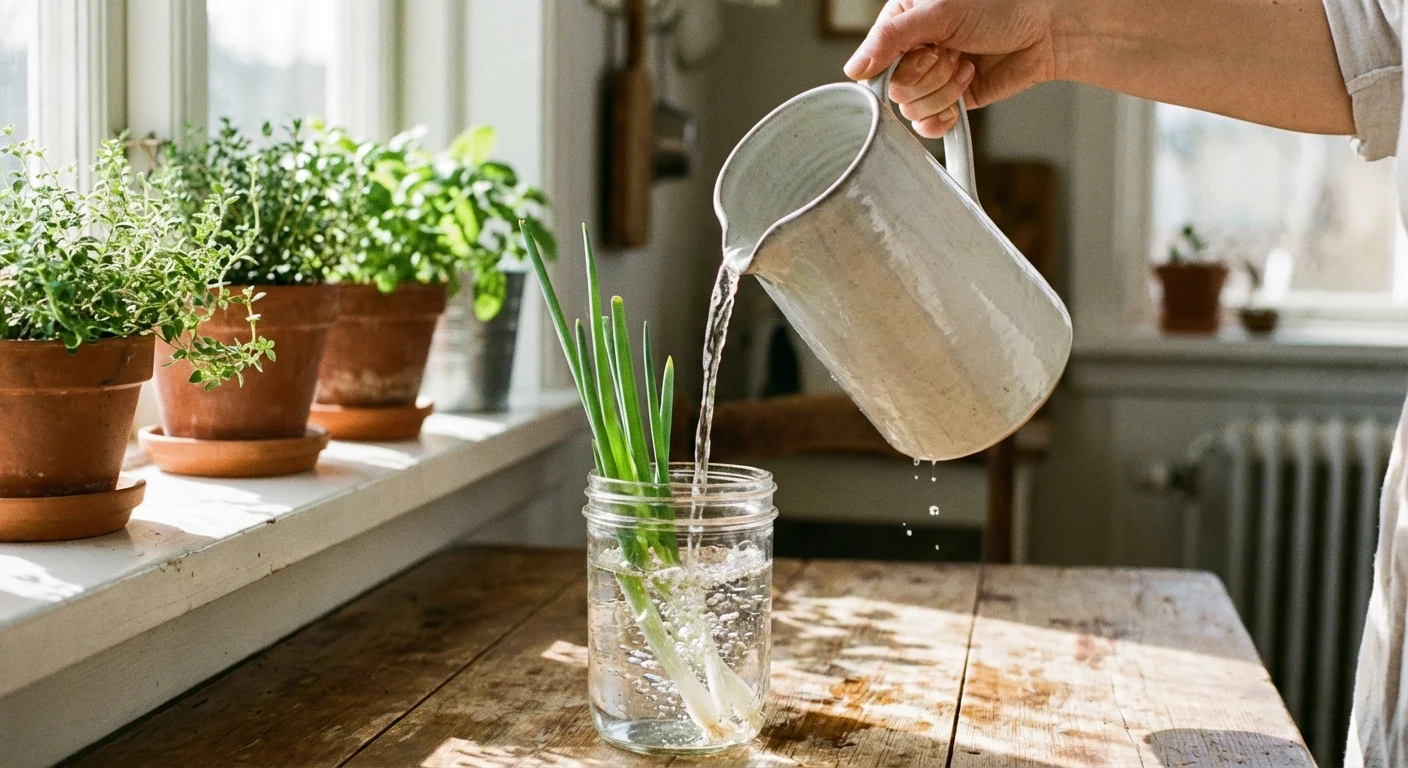
To start, cut your green onions about an inch or two above the roots. Use the green parts for your cooking as usual. Take the white base with the dangling roots and place it upright in a small glass or jar. Add enough water to cover the roots but leave the top of the cutting exposed to the air. Place the jar on a windowsill that receives plenty of natural light. Within 24 hours, you will see a tiny green shoot emerging from the center. Change the water every two days to prevent stagnation. Once the stalks reach a usable height, simply snip off what you need; the plant will continue to grow from the base indefinitely.

2. Romaine Lettuce and Bok Choy
Leafy greens like Romaine lettuce, Butter lettuce, and Bok Choy follow a similar principle to green onions. Instead of individual stalks, you are working with the “heart” or base of the plant. This method works best with whole heads of lettuce rather than the pre-cut bagged varieties.
Cut the leaves away from the base, leaving about two inches of the core intact. Place this core in a shallow bowl or saucer with about half an inch of water. Ensure the bottom is submerged but the top remains dry. Within a few days, you will notice new, light-green leaves sprouting from the very center of the core. After a week, you may see small white roots beginning to form. At this stage, you can choose to keep it in water—though the leaves may remain small—or transplant it into a pot with organic soil for a more robust harvest. This approach provides a steady supply of garnish-sized leaves for sandwiches and salads without a trip to the store.

3. Celery
Celery is notorious for being sold in large bunches that often wilt before you can finish them. Regrowing it from the base ensures you always have a stalk or two ready for soups or snacks. Much like lettuce, you want to cut the stalks off about two inches from the bottom of the bunch.
Place the base in a shallow container of warm water. Position it in a sunny spot and change the water every couple of days. You will see yellow-green leaves emerge from the center, followed by thicker green stalks. Celery is a heavy feeder and loves moisture; once the roots are about an inch long, move it into a pot of nutrient-rich soil. While it may not grow back to the massive size of a commercial bunch, it will provide high-quality, flavorful stalks that are far fresher than anything found in a plastic bag.

4. Garlic Greens
If you have ever found a clove of garlic in the back of your pantry that has started to sprout a little green nub, do not throw it away. While it might taste bitter if cooked, that sprout is the beginning of “garlic greens”—a mild, chive-like herb that tastes like a cross between garlic and green onions.
Place the sprouting clove in a small cup with just enough water to touch the bottom of the clove. Do not submerge it, or it will rot. Within a few days, the green sprout will grow into a tall, thin stalk. You can snip these greens and use them as a topping for baked potatoes or pasta. If you want to grow a whole new bulb of garlic, you must plant the clove in soil during the fall for a summer harvest, but for immediate, free kitchen scrap gardening wins, the greens are the way to go.

5. Ginger Root
Ginger is an expensive specialty item that often carries a high price per pound at the supermarket. Fortunately, it is a rhizome, meaning it is incredibly easy to propagate from a small piece of the root you already have.
Look for a piece of ginger that has “eyes”—small, rounded protrusions that look like the buds on a potato. Soak the ginger piece in warm water overnight to prime it for growth. Plant the ginger in a pot with the buds facing upward, covering it with about an inch of soil. Ginger is a tropical plant, so it prefers a warm, humid environment and indirect light. It is a slow grower, but eventually, it will send up tall green shoots. You can harvest pieces of the root by reaching under the soil and breaking off what you need, leaving the rest of the plant to continue growing.
6. Carrots (The Greens)
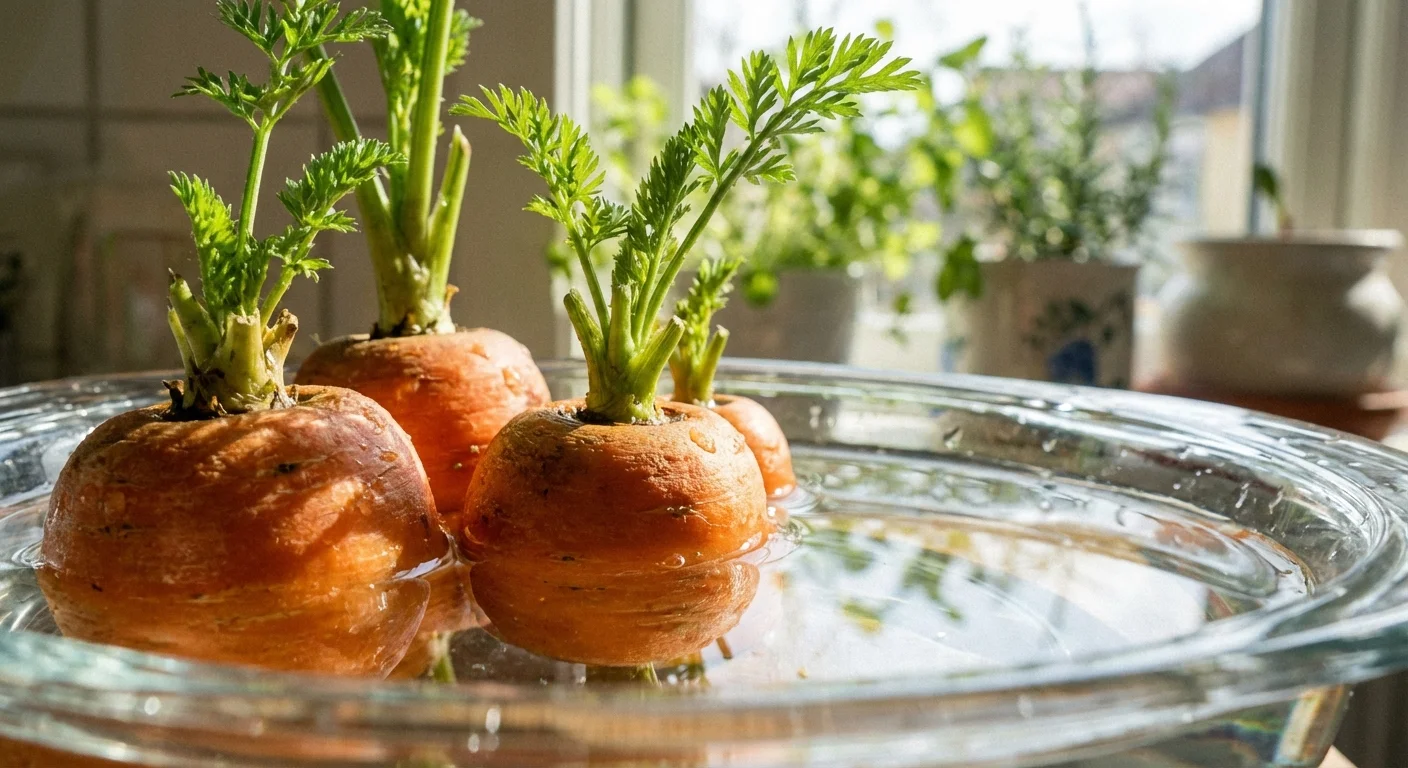
Most people do not realize that carrot tops are entirely edible and possess a vibrant, earthy flavor similar to parsley. While you cannot regrow the actual orange taproot from a scrap—it only grows once from a seed—you can easily regrow the leafy greens.
Cut the top off a carrot, leaving about an inch of the root attached. Place the stump in a shallow dish of water. Within a week, lacy green fronds will sprout from the top. These greens are excellent for making pesto, garnishing roasted vegetables, or adding to salads. This is a great way to extract 100% of the value from your produce purchase rather than discarding the nutrient-dense tops.
7. Potatoes and Sweet Potatoes
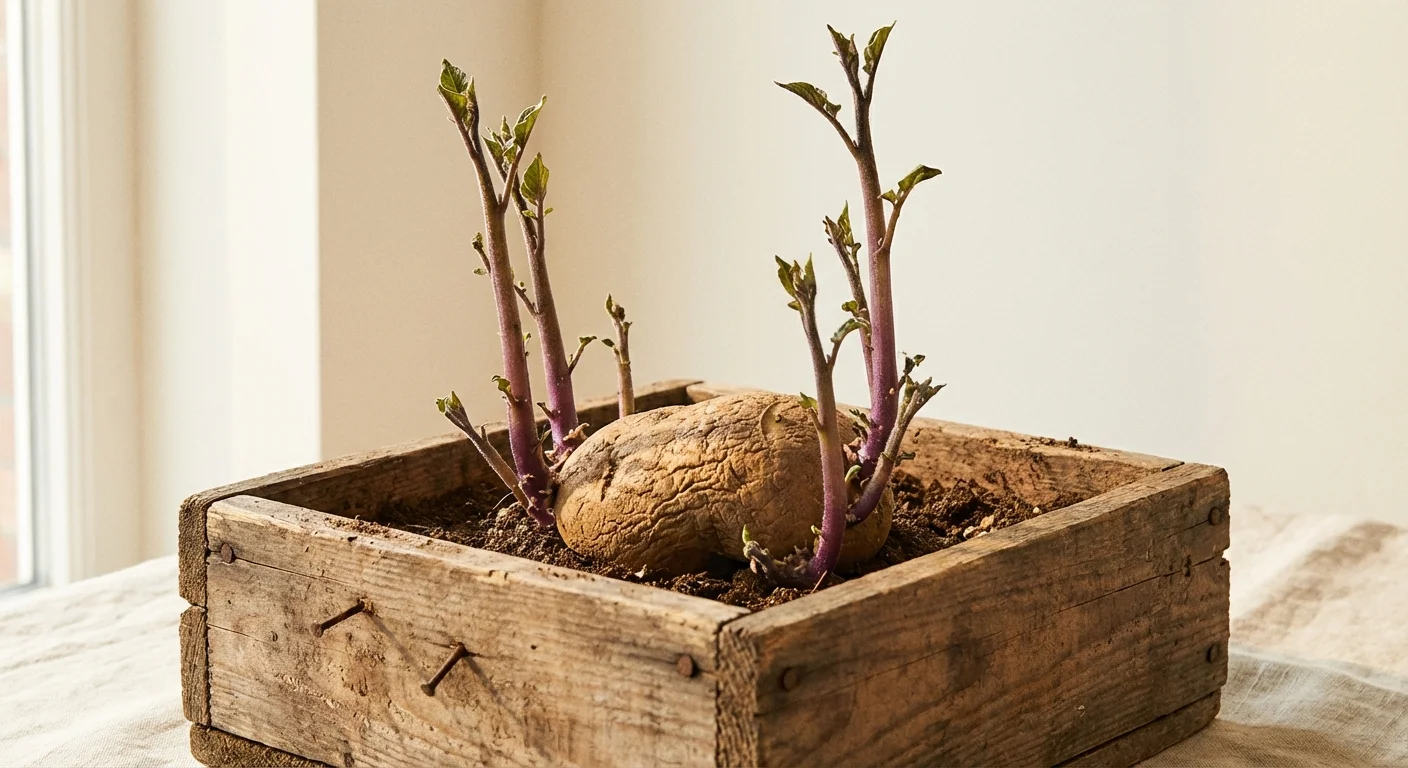
Potatoes are the ultimate survival crop, and they are famously easy to regrow. When a potato starts to grow “eyes” (sprouts), it is telling you it wants to be planted. This often happens naturally in your pantry if you leave them too long.
Cut the potato into chunks, ensuring each chunk has at least two healthy sprouts. Let the cut pieces dry out for a day at room temperature to “callus” over; this prevents them from rotting in the soil. Plant the chunks about four inches deep in a large container or a dedicated garden bed. As the plant grows upward, continue to pile soil or mulch around the stem (a process called “hilling”). This encourages the plant to produce more tubers along the underground stem. One discarded potato can yield five to ten new potatoes within a few months.
8. Basil and Other Soft Herbs
Buying fresh herbs every week is one of the fastest ways to inflate a grocery bill. Basil, mint, and cilantro are often sold in plastic clamshells for four or five dollars each. You can turn a single bunch into a permanent herb garden through stem cuttings.
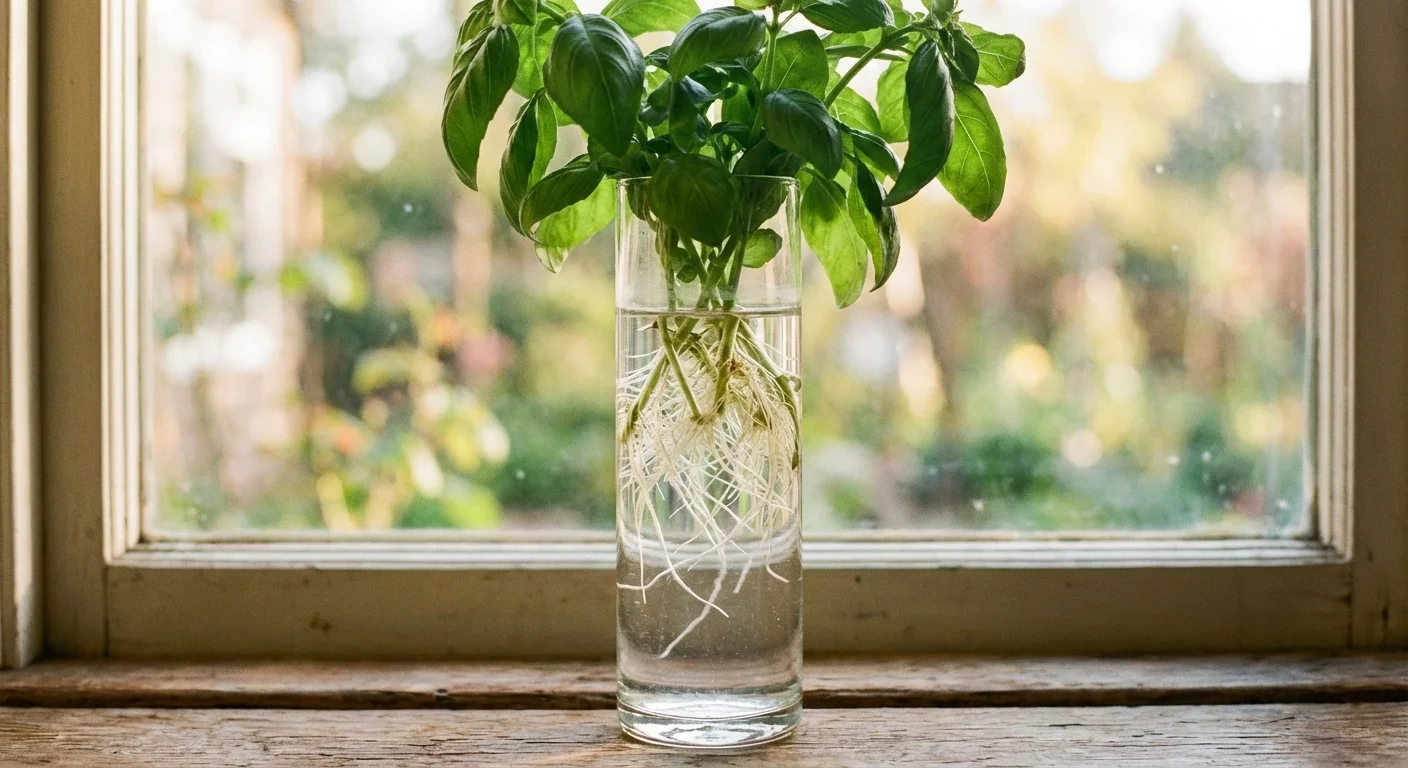
Select a healthy stem about four inches long. Strip the leaves from the bottom two inches, leaving a few leaves at the very top. Place the stem in a glass of water, ensuring no leaves are submerged (submerged leaves will rot). Change the water daily. In about a week, you will see thin white roots growing from the stem nodes. Once the roots are two inches long, plant the herb in a small pot with potting soil. Pinching off the top leaves regularly will encourage the plant to grow bushier rather than taller, providing you with a constant supply of fresh seasoning.
9. Cabbage
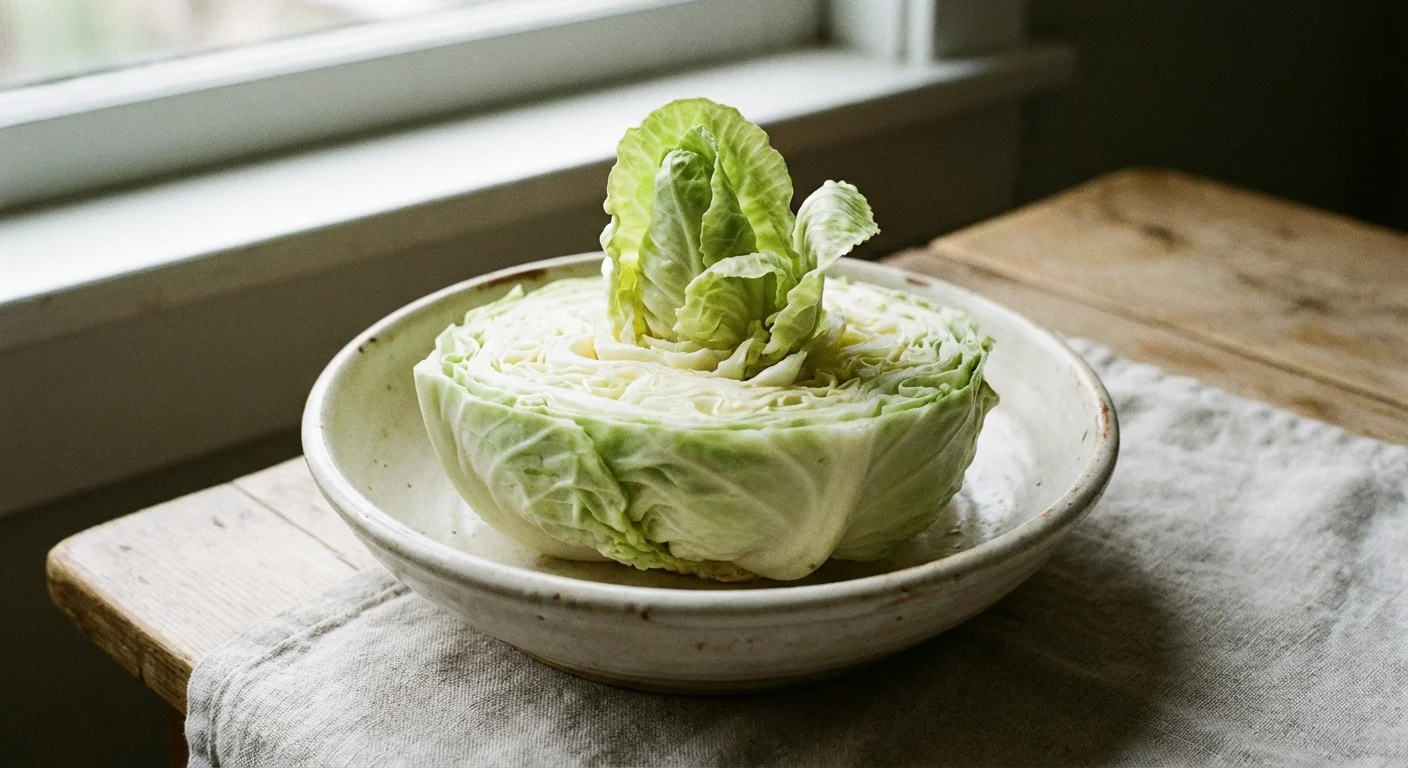
Like lettuce and bok choy, cabbage can be regrown from the base. This works for red cabbage, green cabbage, and Napa cabbage. Since cabbage is a denser vegetable, it may take slightly longer to show progress, but the results are just as satisfying.
Place the cabbage base in a shallow bowl of water. Make sure the water level only covers the bottom quarter of the scrap. Keep it in a bright location and refresh the water frequently. You will see new leaves begin to unfurl from the center. While you may not get a massive, tight head of cabbage like the one you originally bought, you will get fresh, tender leaves that are perfect for slaws or stir-fries.
10. Leeks
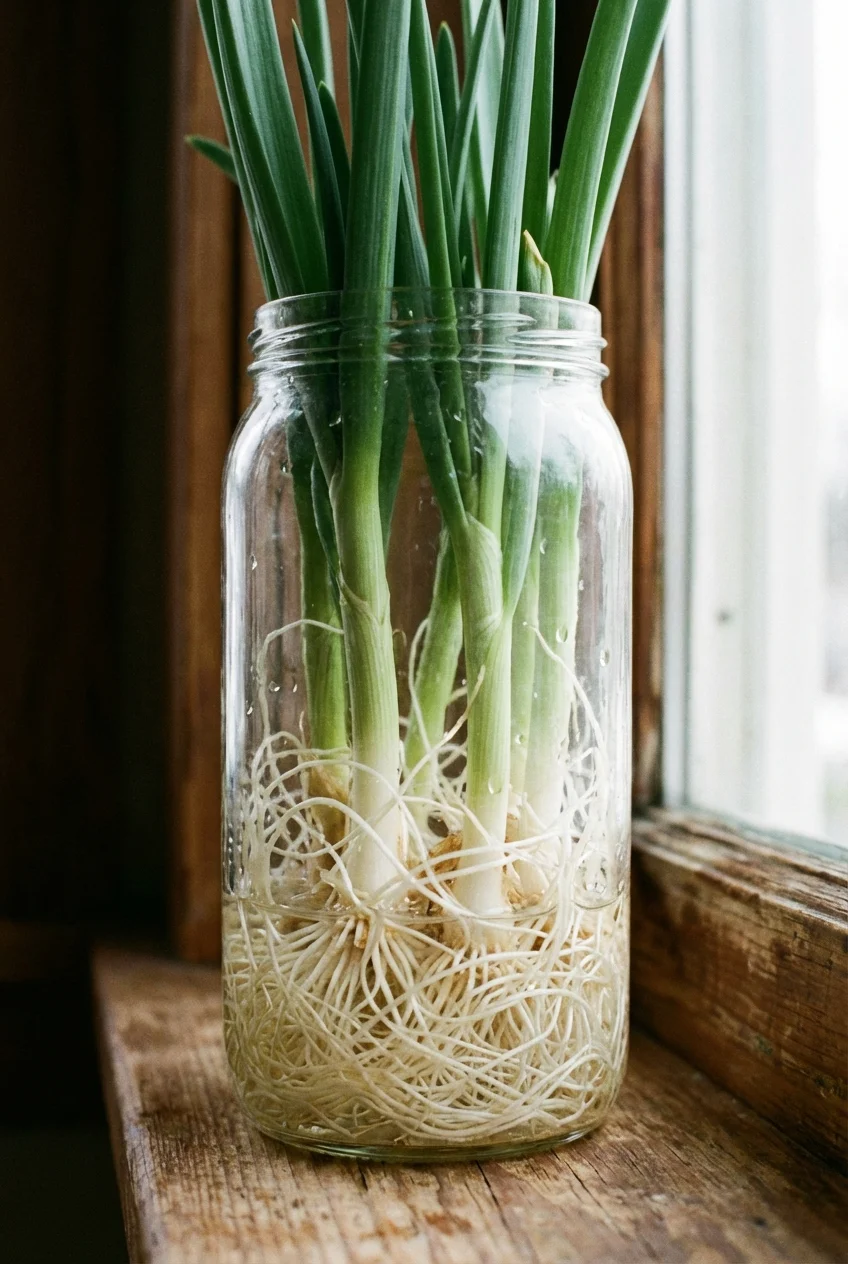
Leeks are the oversized cousins of green onions and are often priced as a gourmet item. They follow the exact same regrowing protocol as scallions but on a larger scale. Cut the bottom two inches of the leek, place it in water, and watch the center shoot upward. Because leeks are sturdier than green onions, they often transition better to soil. Moving them to a pot once the roots are established will result in a thicker, more flavorful stalk that can be used in potato leek soups or roasted dishes.
Comparing Regrowing Strategies
Not every vegetable regrows at the same speed or offers the same “return on investment.” Use the following table to prioritize your kitchen scrap gardening efforts based on your goals.
| Vegetable | Growth Medium | Time to First Harvest | Difficulty Level | Best Savings Value |
|---|---|---|---|---|
| Green Onions | Water | 5–7 Days | Very Easy | High (Perpetual) |
| Romaine Lettuce | Water to Soil | 10–14 Days | Easy | Medium |
| Ginger | Soil | 4–6 Months | Moderate | High (Expensive to buy) |
| Basil | Water to Soil | 2–3 Weeks | Easy | High (Replaces store bunches) |
| Celery | Water to Soil | 3–4 Weeks | Moderate | Medium |
| Garlic Greens | Water | 7–10 Days | Very Easy | Low (Garnish only) |
Essential Tools for Your Windowsill Farm
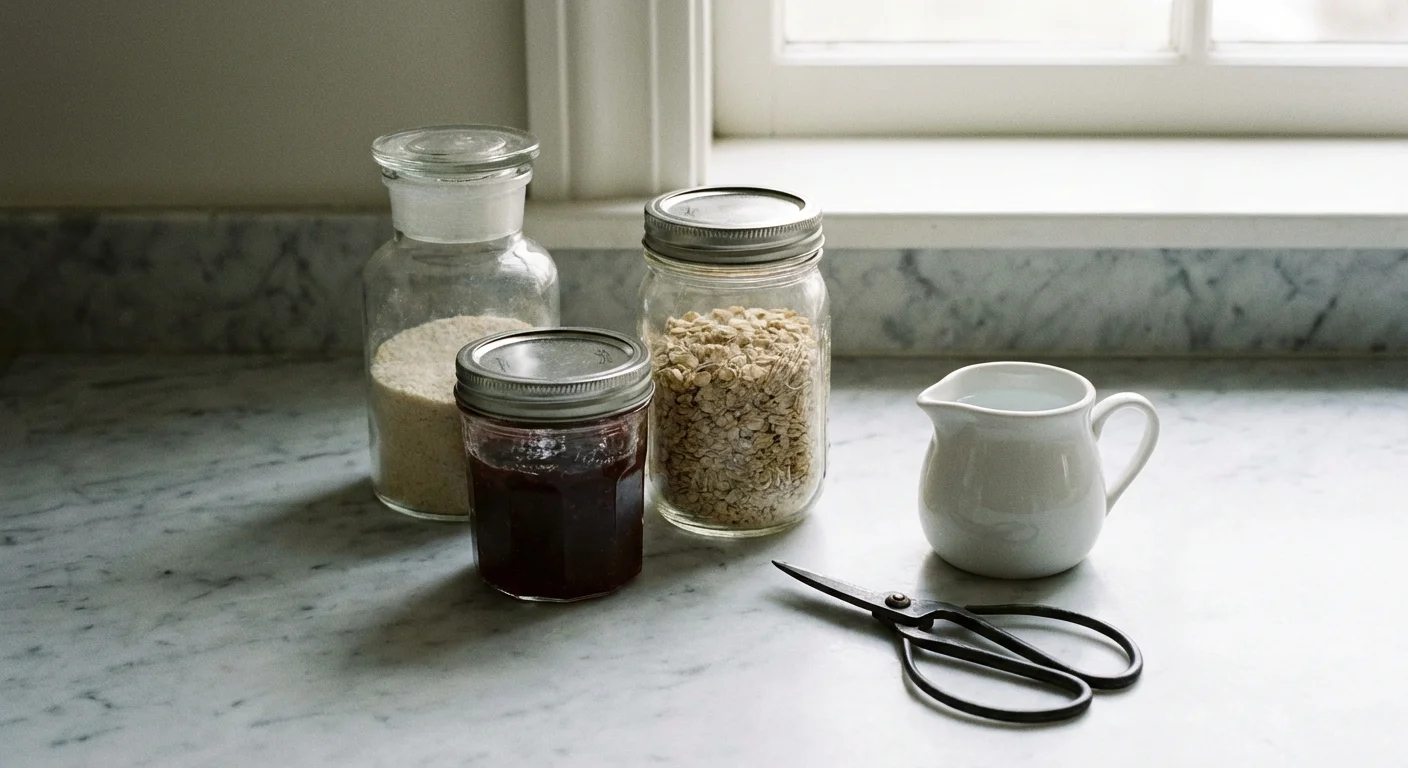
The beauty of indoor gardening is that you do not need to visit a home improvement store to get started. Most of the supplies are already in your recycling bin or kitchen cabinets. You will need:
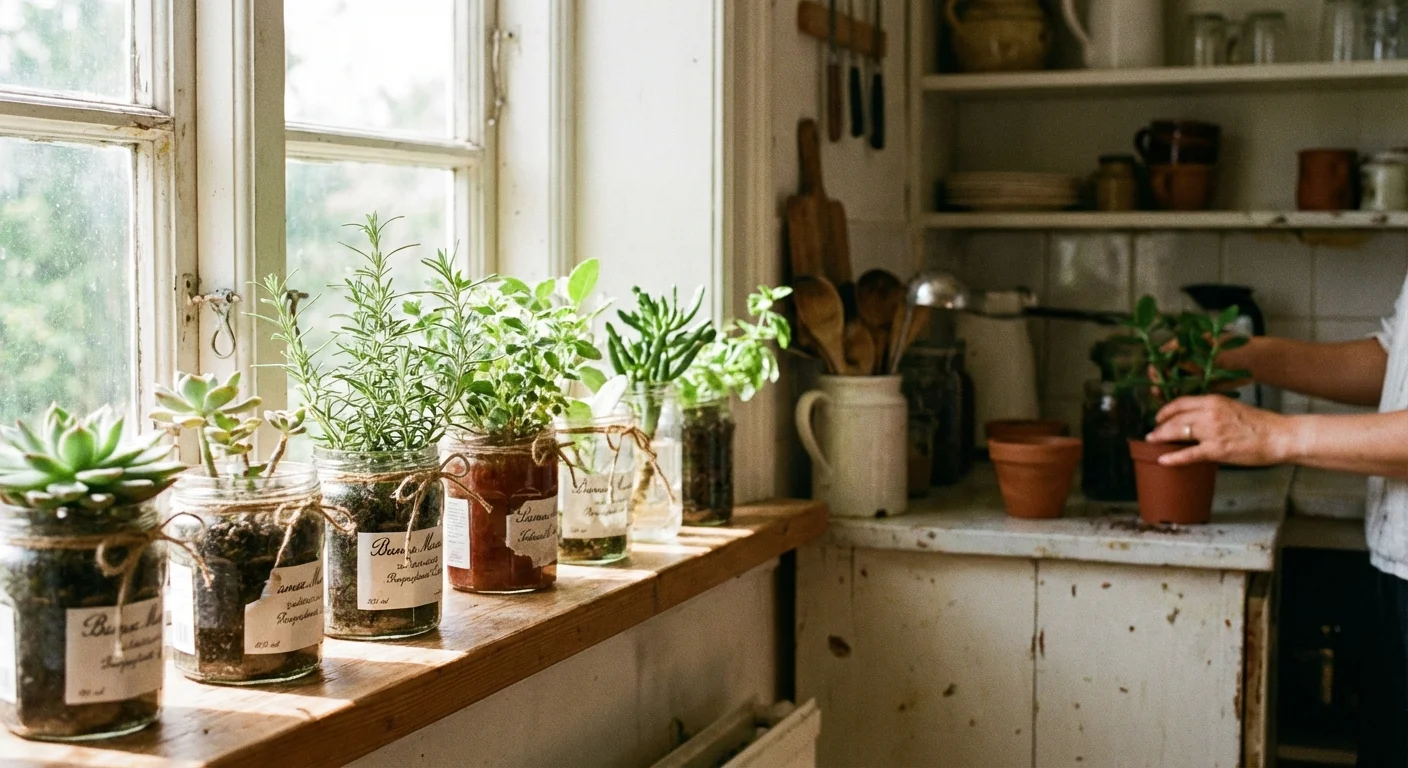
- Glass Jars and Ramekins: Clear glass allows you to monitor root growth and water clarity easily.
- Filtered Water: While tap water works, some plants are sensitive to chlorine. Using filtered water or letting tap water sit out overnight can improve success rates.
- Potting Mix: For vegetables like ginger, potatoes, and herbs, a high-quality organic potting soil provides the nutrients that water alone cannot offer.
- Sunlight: Most scraps need at least six hours of light. A south-facing window is ideal for residents in the northern hemisphere.
If you find that your home lacks natural light, you can supplement with a small LED grow light. According to Energy.gov, modern LED bulbs are highly efficient, meaning the cost of electricity to run the light will be significantly lower than the cost of replacing the vegetables you are growing.
Where People Overspend and Over-invest
A common mistake in frugal gardening is buying specialized “regrowing kits” or “self-watering pods” marketed on social media. These products often cost $20 to $50 and perform no better than a standard mason jar or a repurposed plastic tub. To keep this a truly “free” food project, avoid the temptation of aesthetic gadgets. Use what you have.
Additionally, do not spend money on chemical fertilizers for these small-scale projects. If your plants need a boost once they are in soil, you can use crushed eggshells for calcium or cooled coffee grounds (in moderation) for nitrogen. This keeps your indoor garden organic and keeps your money in your pocket.
“Beware of little expenses; a small leak will sink a great ship.” — Benjamin Franklin
Maintaining Your Indoor Garden
To ensure your scraps thrive rather than rot, you must be diligent about hygiene. The most frequent cause of failure in kitchen scrap gardening is bacterial growth in the water. If the water looks cloudy or smells slightly “off,” change it immediately. Rinse the base of the plant gently under cool water to remove any slime that may have accumulated.
Temperature also plays a role. Most of these vegetables prefer a stable indoor temperature between 60 and 75 degrees Fahrenheit. Avoid placing your jars directly against a freezing window pane in the winter or right next to a scorching heater vent, as extreme temperature swings can shock the delicate new roots.
Frequently Asked Questions
Can I regrow vegetables in water forever?
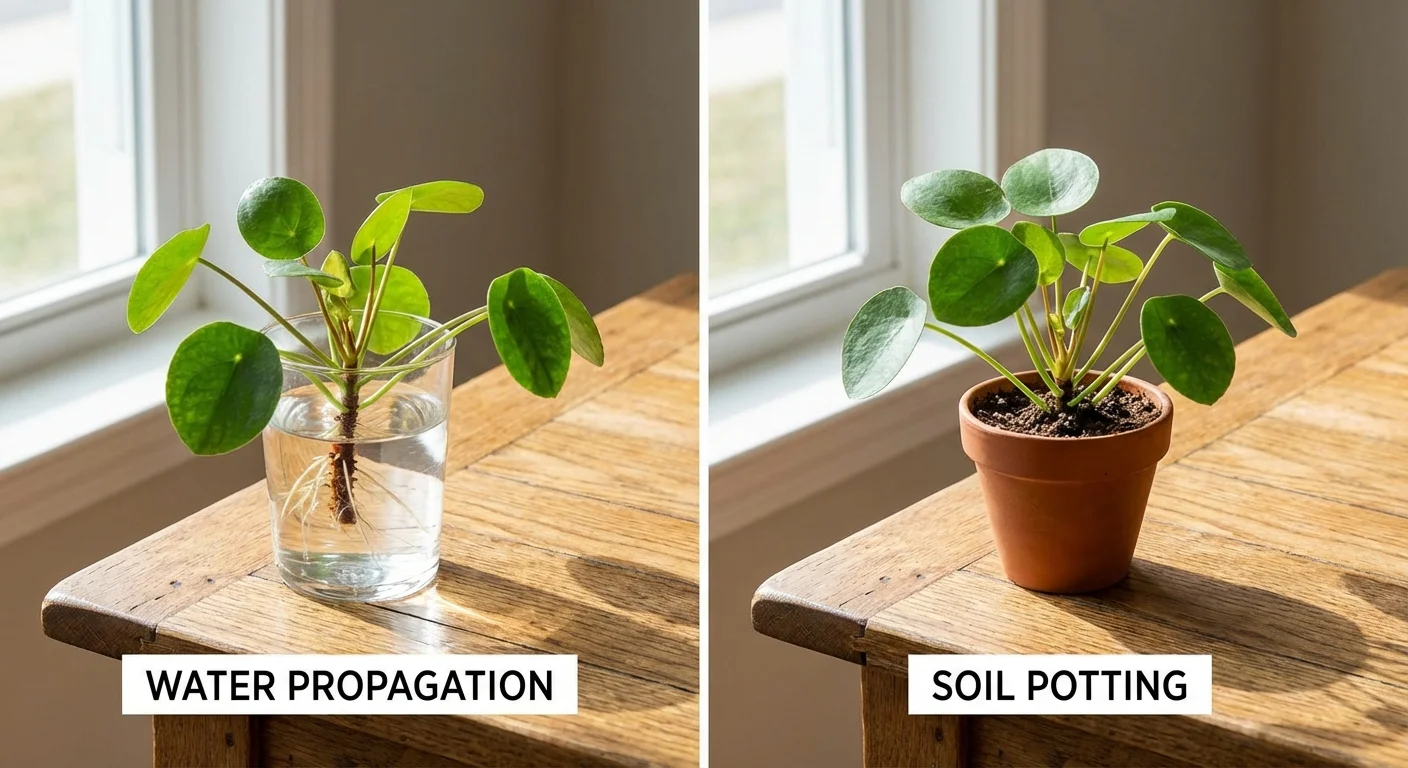
While some plants like green onions can survive for quite a while in water, most vegetables eventually need the nutrients found in soil to thrive. Water provides the hydration for the initial sprout, but soil provides the minerals necessary for the plant to gain mass and nutritional value.
Do I need to use organic vegetables to start?
It is not strictly necessary, but organic produce often has a higher success rate. Some non-organic vegetables, particularly potatoes and onions, are treated with growth inhibitors (like chlorpropham) to prevent them from sprouting in the grocery store. If your scraps refuse to sprout after a week, it may be due to these treatments.
Is the nutritional value the same for regrown vegetables?
If you move the plants to soil, the nutritional value will be comparable to the original plant. If grown strictly in water, the plant may have slightly fewer micronutrients, though it is still a fresh and healthy addition to your diet.
How often should I change the water?
You should aim to change the water every 24 to 48 hours. Fresh water replenishes the oxygen levels that roots need to breathe and prevents the buildup of algae and bacteria.
Taking the First Step Toward Food Independence
The goal of kitchen scrap gardening is not necessarily to replace your entire grocery list, but to be intentional about what you consume and what you discard. It is a practical exercise in resourcefulness that yields tangible, edible results. Start small—put those green onion ends in a glass of water today. Once you see that first inch of new growth, you will likely find yourself looking at every piece of “waste” in your kitchen as a potential new harvest.
By integrating these habits into your daily routine, you create a small but effective buffer against rising food costs. It is a low-risk, high-reward hobby that proves you do not need a lot of money to live well—you just need a little bit of dirt, some water, and the willingness to let nature do the work for you.
Prices and availability mentioned reflect research at the time of writing and may vary by location and retailer. Your actual savings will depend on your specific situation and shopping habits.
Last updated: February 2026. Prices change frequently—verify current costs before purchasing.








Leave a Reply