That rhythmic, ghostly hiss echoing from your bathroom in the middle of the night represents more than just a minor annoyance; it is the sound of your hard-earned money draining into the sewer system. While a dripping faucet is easy to spot, a leaking toilet often hides in plain sight—or sound. According to the EPA WaterSense program, a single leaky toilet can waste up to 200 gallons of water every day. Over the course of a month, that “phantom flush” adds thousands of gallons to your utility bill, potentially costing you hundreds of dollars per year depending on your local water rates.
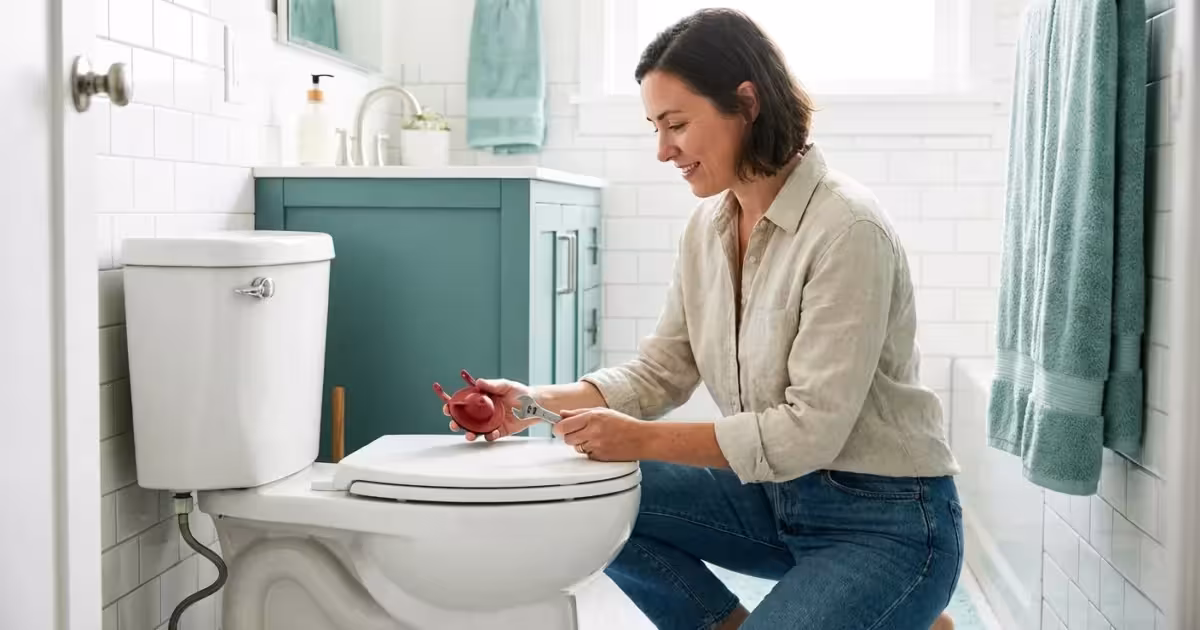
Hiring a professional plumber for a DIY plumbing repair might seem like the safest bet, but the financial math rarely favors the homeowner for simple fixes. Most plumbers charge a minimum service fee ranging from $100 to $250 just to knock on your door. When you factor in parts and labor, a simple ten-minute fix can easily balloon into a $300 invoice. By mastering two fundamental components—the flapper and the fill valve—you can fix a running toilet yourself for less than the price of a large pizza. This guide provides the technical roadmap to regain control of your plumbing and save on your water bill starting today.
“Beware of little expenses; a small leak will sink a great ship.” — Benjamin Franklin
The Anatomy of a Flush: How Your Toilet Works
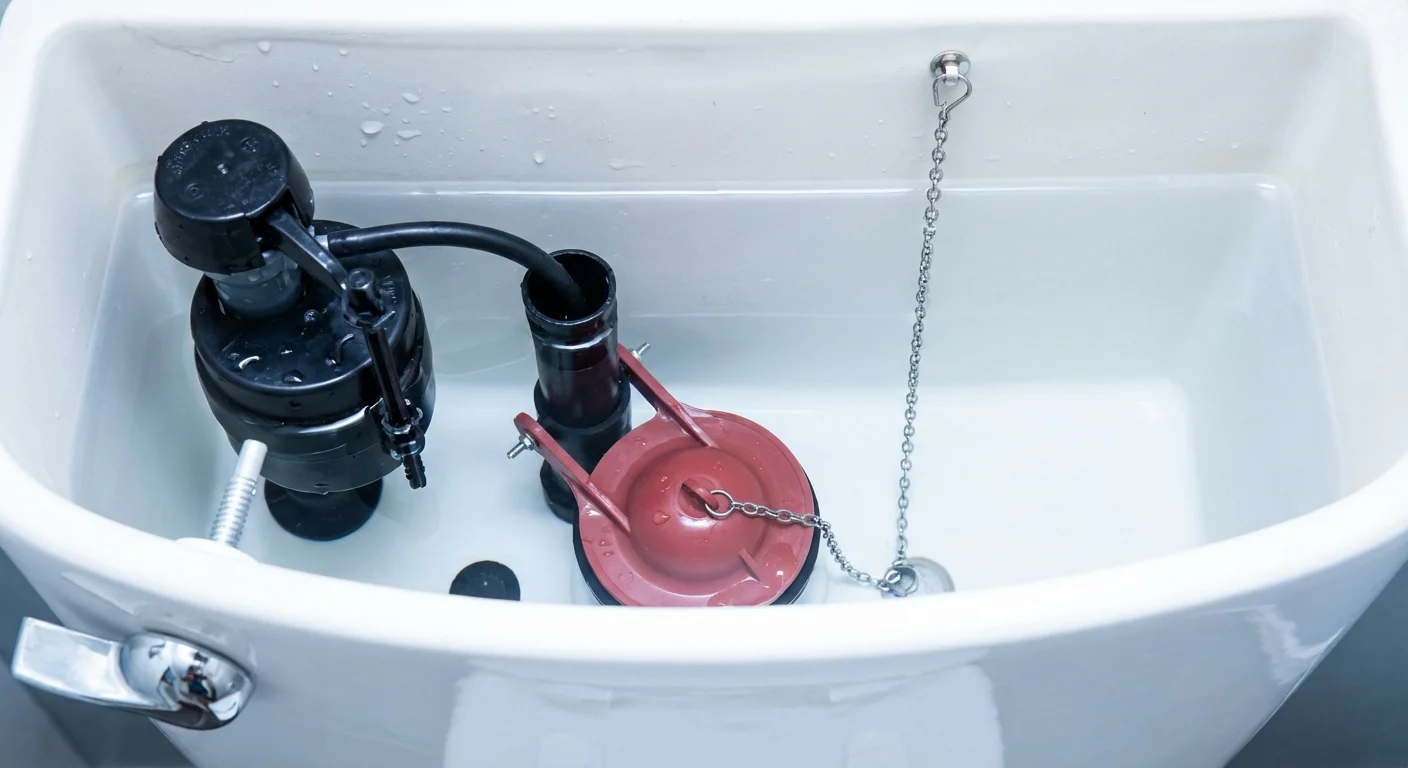
Before you start pulling parts out of the tank, you must understand the mechanical cycle that occurs every time you push the handle. A standard gravity-fed toilet relies on simple physics rather than complex electronics. When you press the handle, a lift chain pulls up a rubber seal known as the flapper. This allows the water stored in the tank to rush into the bowl, creating the siphon effect that clears waste.
As the tank empties, the flapper drops back down to seal the drain. Simultaneously, a device called the fill valve (or ballcock) senses the drop in water level. It opens a valve to refill the tank with fresh water from the supply line. Once the water reaches a predetermined level, a float attached to the fill valve rises and shuts off the flow. If any part of this cycle fails—the flapper doesn’t seal or the fill valve doesn’t stop—your toilet runs continuously.
Diagnosing the Source of the Leak
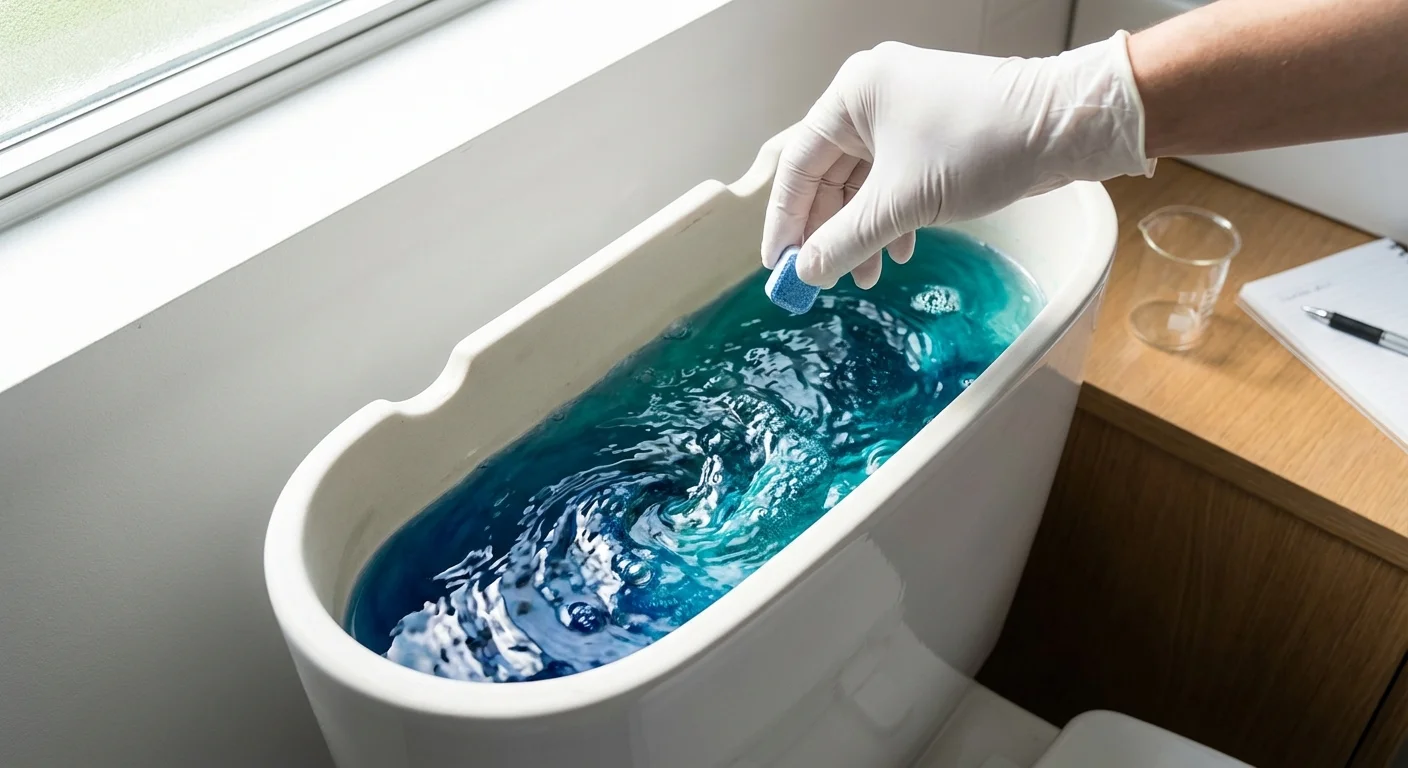
To fix the problem efficiently, you must first identify which component has failed. You do not want to replace the entire internal assembly if only a five-dollar rubber part is to blame. Perform the “dye test” to confirm a leaking flapper. Drop a few drops of food coloring (or specialized leak-detector tablets) into the toilet tank and wait 15 to 20 minutes without flushing. If the color appears in the bowl, your flapper is not providing a watertight seal.
If the bowl remains clear but you still hear water running, look at the overflow tube—the open pipe in the center of the tank. If water is constantly spilling over the top of this tube, your fill valve is either set too high or has failed to shut off entirely. This diagnostic step ensures you buy only what you need, adhering to the core principles of intentional spending.
Fixing the Flapper: Your Five-Minute Financial Win
The flapper is the most common culprit in a running toilet. Over time, the chlorine and minerals in your water supply degrade the rubber, causing it to warp, harden, or become “slimed” with bacteria. When the rubber loses its flexibility, it can no longer create a vacuum seal against the flush valve seat.
- Shut off the water: Locate the silver handle on the wall behind the toilet. Turn it clockwise until it stops.
- Drain the tank: Flush the toilet and hold the handle down to remove as much water as possible. Use a sponge to soak up the remaining inch of water if you want a dry workspace.
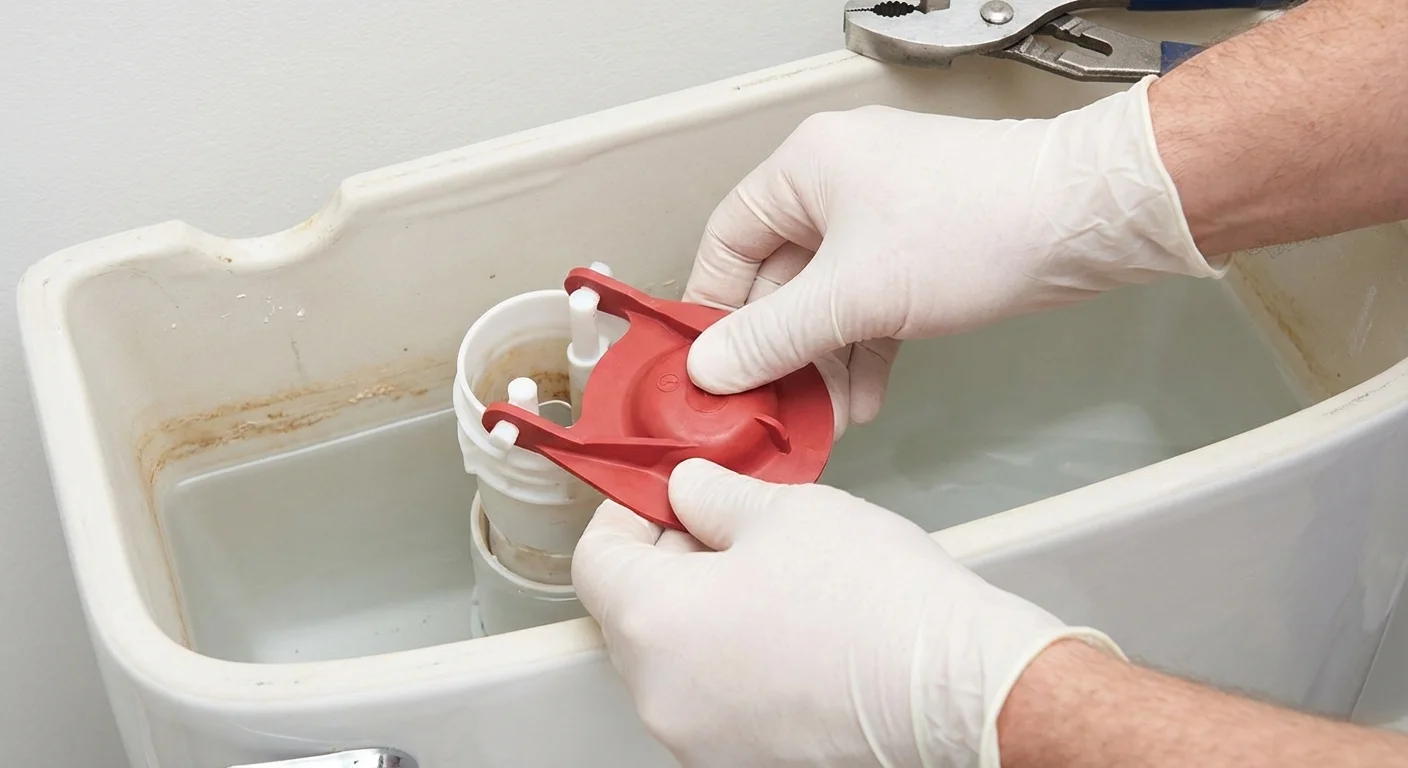
- Remove the old flapper: Unhook the chain from the handle lever and pull the rubber ears of the flapper off the pegs on the overflow tube.
- Clean the seat: This is a step many skip. Run your finger along the rim where the flapper sits. If you feel mineral deposits or grit, wipe it clean with a damp cloth to ensure the new seal is perfect.
- Install the replacement: Slide the new flapper onto the pegs and attach the chain. Ensure there is just a tiny bit of slack in the chain when the flapper is closed; too much slack prevents the toilet from flushing fully, while too little slack prevents the flapper from sealing.
Standard flappers come in two sizes: two-inch and three-inch. Most toilets built before 2005 use the two-inch version, while newer, high-efficiency models often use the larger three-inch size. If you are unsure, bring your old flapper to the hardware store to match it exactly. According to Consumer Reports, universal adjustable flappers are a reliable choice for most homeowners as they allow you to fine-tune the amount of water released per flush.
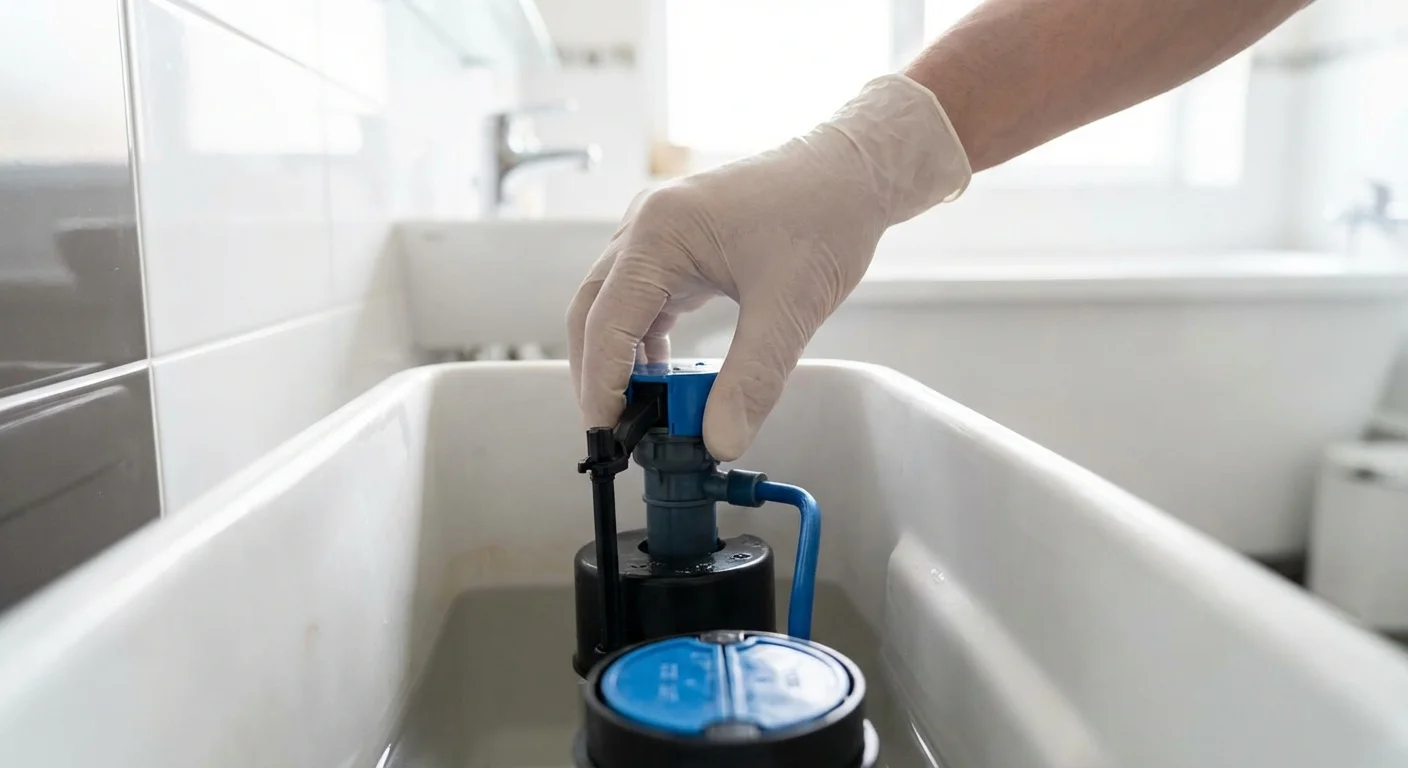
Replacing the Fill Valve: Restoring Quiet and Efficiency
If your toilet hiss persists or if the tank takes an eternity to refill, the fill valve has likely reached the end of its lifespan. Modern “float cup” fill valves are significantly more reliable and quieter than the old-fashioned copper rods and balls you might see in older homes.
To replace the fill valve, you will need a pair of channel locks or an adjustable wrench. Start by turning off the water and draining the tank as described in the flapper section. Place a small bucket or towel under the supply line connection on the outside of the tank to catch any residual water. Disconnect the supply line nut, then unscrew the plastic locknut holding the valve to the bottom of the tank. Lift the old valve out and discard it.
Before installing the new valve, adjust its height. Most modern valves, like the ones recommended by Wirecutter, feature a telescoping body. You want the top of the valve to sit a few inches above the overflow tube. Insert the valve, tighten the locknut by hand (then a quarter turn with the wrench), and reconnect the supply line. Finally, attach the small refill tube to the top of the overflow pipe. This tube is critical because it refills the water in the toilet bowl, maintaining the “trap” that prevents sewer gases from entering your home.
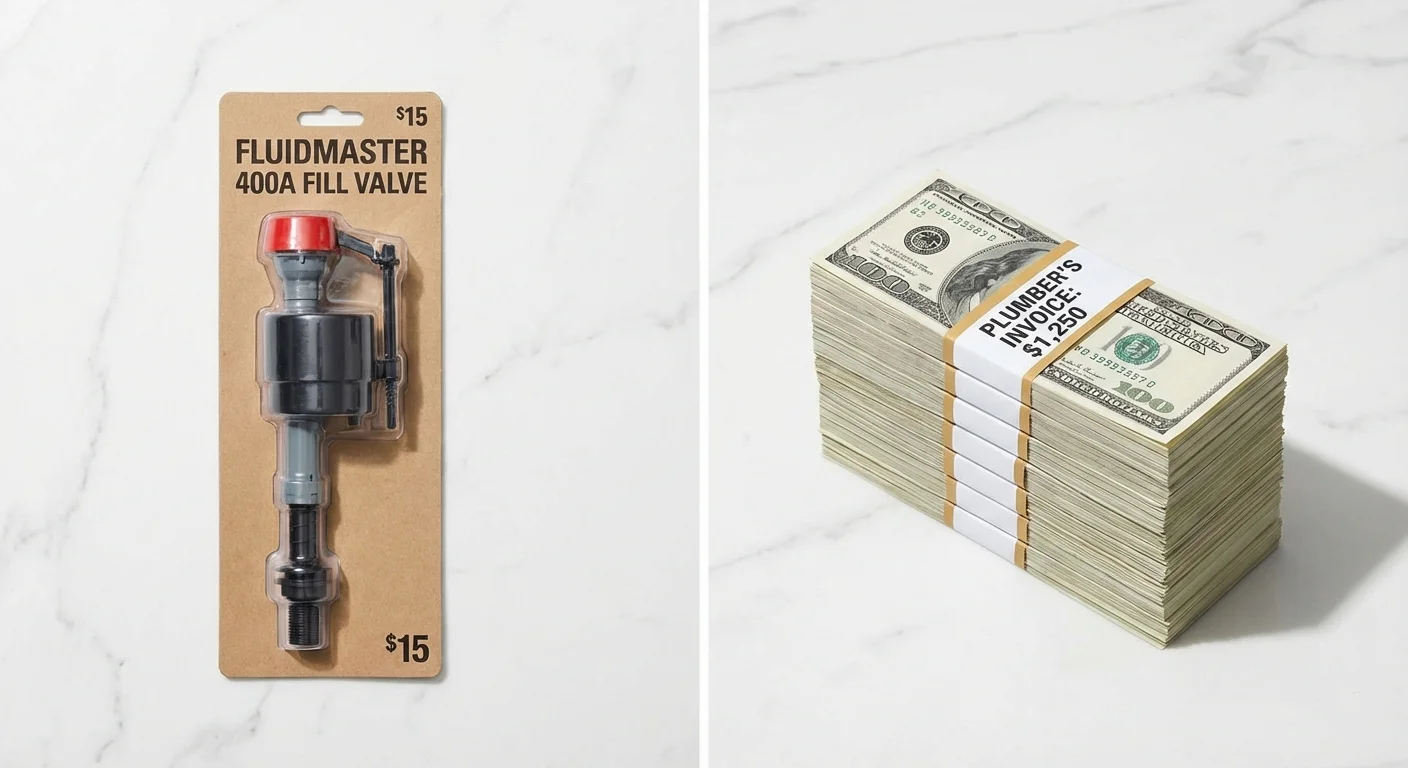
Comparing the Costs: DIY vs. Professional Service
The following table illustrates the potential savings when you choose to tackle these repairs yourself. Prices for parts reflect average costs at national retailers like Home Depot or Lowe’s, while professional estimates include standard labor rates and “trip charges.”
| Repair Task | DIY Parts Cost | Pro Service Estimate | Estimated Savings |
|---|---|---|---|
| Flapper Replacement | $5 – $12 | $125 – $175 | $120+ |
| Fill Valve Replacement | $12 – $25 | $150 – $225 | $138+ |
| Complete Tank Overhaul | $25 – $40 | $250 – $350 | $225+ |
By performing both repairs at the same time—a “total tank overhaul”—you effectively reset the clock on your toilet’s internal mechanics for about $30. This proactive approach prevents the need to open the tank again for another five to seven years.

Costly Mistakes to Avoid
While toilet repair is straightforward, a few common errors can turn a $20 fix into a $500 floor repair. Avoid these pitfalls to keep your project on budget:
- Overtightening connections: The tank and bowl are made of porcelain, which is essentially glass. If you tighten the plastic nuts with too much force, the porcelain will crack. Finger-tight plus a quarter-turn with a wrench is usually sufficient.
- Ignoring the supply line: When you replace a fill valve, inspect the flexible supply line connecting the wall to the tank. If it is more than five years old or shows signs of corrosion, replace it for $10. A burst supply line can flood a bathroom in minutes.
- Using bleach tablets: Those blue or white chlorine tablets you drop into the tank smell clean, but they are corrosive. They eat away at the rubber flapper and plastic valves, significantly shortening their lifespan. Stick to bowl cleaners that don’t sit in the tank water.
- Cross-threading: Always start threading nuts by hand. If you feel resistance immediately, stop and realign. Forcing a plastic nut onto metal threads will ruin the valve and require a second trip to the store.

Skip DIY When…
While flappers and fill valves are firmly in the DIY category, some plumbing issues require a professional touch or a total fixture replacement. Do not attempt a simple repair if you notice the following:
- Cracks in the porcelain: If you see a hairline crack in the tank or the bowl, the toilet is a ticking time bomb. Porcelain cracks can expand instantly, leading to catastrophic water damage. Replace the entire toilet.
- Leaks at the base: If water is pooling on the floor around the bottom of the toilet, the wax ring seal has likely failed. While this is a DIY-friendly job for some, it involves lifting the entire 80-pound fixture, which can be physically demanding and messy.
- Puddled water under the tank: If water is dripping from the bolts that connect the tank to the bowl, you may need to replace the “tank-to-bowl” gasket. This requires more disassembly than a standard fill valve replacement.
Frequently Asked Questions
How long should a toilet flapper last?
In most homes, a flapper lasts between three and five years. If you have hard water or use “in-tank” cleaners, you might need to replace it every year or two. If the rubber feels sticky or leaves a black residue on your hands, it has failed.
Why is my toilet making a high-pitched whistling sound?
This is usually a sign of a failing fill valve diaphragm. As the valve tries to close, the water pressure forces its way through a small tear in the rubber, creating a whistle. Replacing the fill valve is the most permanent and cost-effective solution.
Can I just clean the flapper instead of replacing it?
You can occasionally extend the life of a flapper by wiping away mineral buildup with a rag. However, once the rubber begins to warp or harden, cleaning will not restore the seal. Given that a new flapper costs less than $10, replacement is the more reliable frugal choice.
Does a running toilet really affect my bill that much?
Yes. A “silent” leak can waste 30 to 60 gallons a day, while a significant “running” toilet can waste over 4,000 gallons in a single month. Depending on your municipal rates, this can add $50 to $150 to a single monthly bill.
Taking Action for Long-Term Savings
Taking the initiative to repair your own plumbing is a hallmark of intentional living. By spending thirty minutes and twenty dollars today, you prevent a massive spike in your utility bill and avoid the steep costs of emergency plumbing services. This isn’t just about fixing a toilet; it is about developing the confidence to maintain your home without relying on expensive intermediaries for every minor hiccup.
Once you have finished the repair, take a moment to check the other toilets in your home using the dye test. Consistency is key to household savings. If one flapper has degraded, the others are likely close behind. Proactively managing these small components ensures that your home remains a place of efficiency rather than a source of financial leakage.
The savings estimates in this article are based on typical costs and may differ in your area. Always compare current prices and consider your household’s specific needs.
Last updated: February 2026. Prices change frequently—verify current costs before purchasing.


Leave a Reply