
You walk into a big-box furniture store and see a solid wood dresser. The price tag reads $900—and that is before you factor in delivery fees or the inevitable taxes. According to data from the Bureau of Labor Statistics, the average American household spends nearly $2,500 per year on household furnishings and equipment. For many families, that is a significant chunk of the annual budget spent on items that often feature particle board and veneers rather than real wood.
Furniture flipping offers a way to bypass these inflated prices while populating your home with high-quality, unique pieces. By learning to refinish furniture on budget, you take control of your environment and your wallet. This guide will show you how to identify potential, prep like a professional, and transform a “curb find” into a center-piece for your living room—all for less than the cost of a single dinner out.
Key Savings at a Glance
| Item | New Retail Cost | Thrifted + Refinished Cost | Estimated Savings |
|---|---|---|---|
| Solid Wood Dresser | $800 – $1,200 | $40 – $120 | 85% – 90% |
| Coffee Table | $250 – $450 | $15 – $60 | 80% – 90% |
| Dining Table & Chairs | $1,200 – $3,000 | $150 – $400 | 75% – 85% |

Mastering the Hunt: Where to Find Your Best Projects
Success in furniture flipping begins long before you pick up a paintbrush; it starts with the hunt. You want pieces with “good bones,” which typically means solid wood construction, sturdy joinery, and classic silhouettes. Avoid the temptation to buy the first thing you see. Instead, curate your search through specific channels where prices remain low.
Facebook Marketplace is currently the gold standard for finding deals. Because individual sellers often just want the item gone, you can find high-quality pieces for pennies. Set up alerts for keywords like “solid wood,” “vintage,” or “moving sale.” Check the “Free” section early in the morning—this is when people post items they have moved to the curb.
Estate sales are another treasure trove, particularly on the final day of the sale. Most estate sale companies offer 50% off everything on Sundays. Thrift stores like Goodwill or Habitat for Humanity ReStore are reliable, but prices have risen lately. To get the best deal, ask about their color-tag rotation system or senior/military discount days. The Federal Trade Commission recommends exercising caution when purchasing from online marketplaces by meeting in public places and verifying the item’s condition before payment.

Identifying Quality: Real Wood vs. Particle Board
Not every cheap piece of furniture is worth your time. If you spend ten hours refinishing a piece made of compressed sawdust and glue (MDF or particle board), the results will likely disappoint. You want to focus your energy on diy home decor that lasts a lifetime.
To identify solid wood, look at the back and the underside of the piece. If you see a consistent wood grain that continues through the edges, it is solid. Check the drawers—dovetail joints (interlocking wedge-shaped joints) are a hallmark of quality craftsmanship. If the piece feels unusually heavy for its size, that is a good sign. Conversely, if you see a “repeating” grain pattern or a thin layer of plastic-like material peeling off at the corners, you are looking at laminate or veneer over particle board. While you can paint these, they rarely hold up to heavy use or sanding.
“Beware of little expenses; a small leak will sink a great ship.” — Benjamin Franklin

The Essential Budget Toolkit
Many beginners make the mistake of buying every gadget at the hardware store. You do not need a $500 spray rig or a professional-grade workshop to get started. According to Wirecutter, a few well-chosen hand tools and mid-range power tools can handle 90% of home furniture projects. Start with these basics:
- Cleaning Supplies: A bottle of TSP (Trisodium Phosphate) or a degreasing dish soap. Removing years of furniture polish and finger oils is the most important step for paint adhesion.
- Sandpaper: Buy a variety pack including 80, 120, and 220 grit. If your budget allows, a basic $40 orbital sander will save your arms hours of work.
- Wood Filler: A small tub of water-based wood filler to hide scratches and dings.
- Primer: Do not skip this. A high-quality “stain-blocking” primer prevents the old wood tannins from bleeding through your new paint.
- Paint: For beginners, mineral paint or chalk-style paint is forgiving. It sticks to almost anything and levels out well.
- Brushes: Buy one high-quality 2-inch synthetic brush. A cheap $1 brush will leave bristles in your finish and ruin the look.

The Step-by-Step Refinishing Process
Follow this sequence to ensure a durable, professional-looking finish. Rushing the process is the fastest way to waste your investment.
Step 1: Deep Cleaning
Mix your TSP or degreaser with warm water and scrub every inch of the piece. Do not forget the nooks and crannies. If you paint over old wax or oil, the paint will eventually bubble and peel. After scrubbing, wipe it down with clean water and let it dry completely.
Step 2: Assessment and Repairs
Remove all hardware. If the drawers are sticky, rub a bit of candle wax or paraffin on the tracks. Fill any deep gouges with wood filler, overfilling slightly because the material shrinks as it dries. Once dry, sand the filler flush with the wood surface. If a piece of veneer is bubbling, you can often glue it back down by injecting wood glue under the bubble and clamping it flat for 24 hours.
Step 3: Scuff Sanding
You do not need to sand down to the bare wood unless you plan to restain it. For painting, a “scuff sand” is sufficient. Use 120-grit sandpaper to break the gloss of the old finish. This creates “tooth” for the primer to grab onto. Wipe away all dust with a tack cloth or a damp, lint-free rag.
Step 4: Priming
Apply one or two thin coats of primer. If you are working with mahogany or cherry wood, use a shellac-based primer; these woods are notorious for “bleeding” red sap through paint. Allow the primer to dry according to the manufacturer’s instructions.
Step 5: Painting
Apply your paint in long, even strokes. If you are using a brush, always work in the direction of the wood grain. Two thin coats are always better than one thick, gloppy coat. Sand lightly with 220-grit sandpaper between coats for a buttery-smooth finish. This is the secret that separates amateurs from professionals.
Step 6: Protecting the Finish
A dining table or dresser top needs protection. Use a water-based polycrylic or a furniture wax. Polycrylic is more durable for high-traffic surfaces, while wax provides a soft, hand-rubbed glow that looks beautiful on accent pieces.
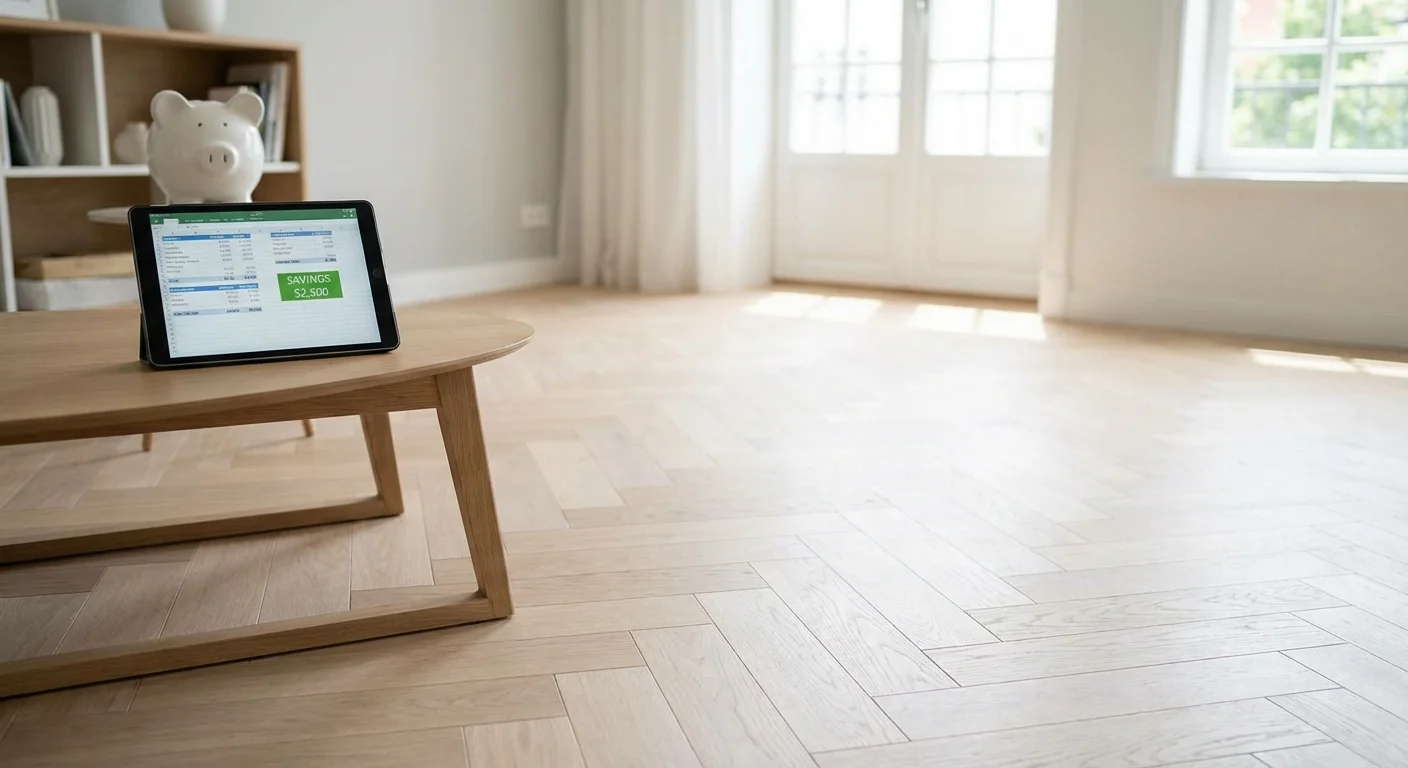
Where People Overspend
The goal of furniture flipping is to save money, yet it is easy to fall into “hobby creep.” Avoid these common financial pitfalls:
- Buying “Specialty” Boutique Paints: You do not need $40-per-quart “designer” chalk paint. You can make your own by mixing plaster of Paris or calcium carbonate into standard latex paint, or simply buy a high-quality acrylic cabinet paint from a local hardware store.
- New Hardware Overload: Modern drawer pulls can cost $10 to $15 each. On a nine-drawer dresser, that is over $100 just for handles. Instead, clean the original hardware with a mixture of vinegar and water or give them a fresh coat of metallic spray paint.
- Over-Restoration: Sometimes a piece only needs a good cleaning and a “Restor-A-Finish” wipe-down rather than a full paint job. Do not spend money on supplies you do not need.
“It’s not your salary that makes you rich, it’s your spending habits.” — Charles A. Jaffe
When to Call a Pro
While most furniture flipping projects are beginner-friendly, some situations require professional expertise or specialized equipment. You should consider passing on a project or calling a professional if:
- Structural Instability: If a chair or table wobbles significantly and the joints are cracked or missing pieces of wood, it may require advanced carpentry skills to make it safe.
- Antique Value: If you suspect a piece is a genuine 18th-century antique or a highly collectible mid-century modern original (like an Eames chair), do not paint it. Painting a rare antique can slash its value by 90%. Consult an appraiser first.
- Lead Paint Concerns: Furniture made before 1978 may contain lead paint. If you suspect lead, do not sand it. You can use lead test kits from the hardware store to be sure.
- Complex Upholstery: Changing the fabric on a simple dining chair seat is easy. Re-upholstering a tufted wingback chair requires specialized tools and years of practice.
Monetizing Your New Skill
Once you have mastered the art of the flip for your own home, you might find yourself with a profitable side hustle. The market for “shabby chic” or “modern farmhouse” furniture remains strong. To turn a profit, aim to acquire pieces for $30 or less. If you spend $20 on materials and five hours of labor, selling the piece for $250 nets you a healthy hourly wage.
High-quality photography is the key to selling. Stage your finished piece in a well-lit area with a few simple props—a plant, a stack of books, or a lamp. Buyers are not just buying a dresser; they are buying the “look” you have created. Clear, bright photos can add $50 to $100 to your asking price.
Frequently Asked Questions
Do I really have to sand?
Yes. Even “no-sanding” paints perform better on a lightly scuffed surface. Skipping this step often leads to paint that scrapes off with a fingernail a month later.
What is the best paint for beginners?
Mineral-based paints or “all-in-one” furniture paints are best. They are thicker than wall paint, have excellent leveling properties (fewer brush marks), and often require no separate topcoat.
How do I get rid of “old furniture” smell?
Clean the interior of the drawers with a 1:1 mixture of white vinegar and water. For stubborn odors, leave a bowl of baking soda or activated charcoal inside the closed drawers for 48 hours. You can also seal the unfinished interior wood with a clear shellac to “lock in” the scent.
Is furniture flipping actually eco-friendly?
Absolutely. By refinishing an old piece, you are keeping bulky items out of landfills and reducing the demand for new manufacturing, which often involves heavy chemical use and international shipping footprints.
Refreshing thrifted furniture is more than just a way to save money—it is a way to claim your personal style without the heavy price tag of a showroom floor. Start small with a side table or a simple nightstand. As your confidence grows, so will the scale of your projects. Every piece you rescue is a victory for your home’s aesthetic and your bank account.
This article provides general money-saving guidance. Individual results vary based on location, household size, and spending patterns. Verify current prices before making purchasing decisions.
Last updated: February 2026. Prices change frequently—verify current costs before purchasing.









Leave a Reply