Walking into an outdated kitchen every morning can drain your enthusiasm for cooking and entertaining. Most homeowners assume a renovation requires a $30,000 loan and three months of living out of a microwave. However, you do not need five figures to change the soul of your home. If your cabinet boxes are structurally sound, you possess the only thing required for a total transformation: the willingness to put in some sweat equity.
A budget kitchen remodel focuses on high-impact visual changes. By targeting the cabinets—which occupy the largest amount of visual real estate in the room—and upgrading the hardware, you can achieve a high-end look for less than $500. This guide provides a beginner-friendly tutorial to help you navigate the process without falling into common DIY traps that lead to peeling paint and wasted money.
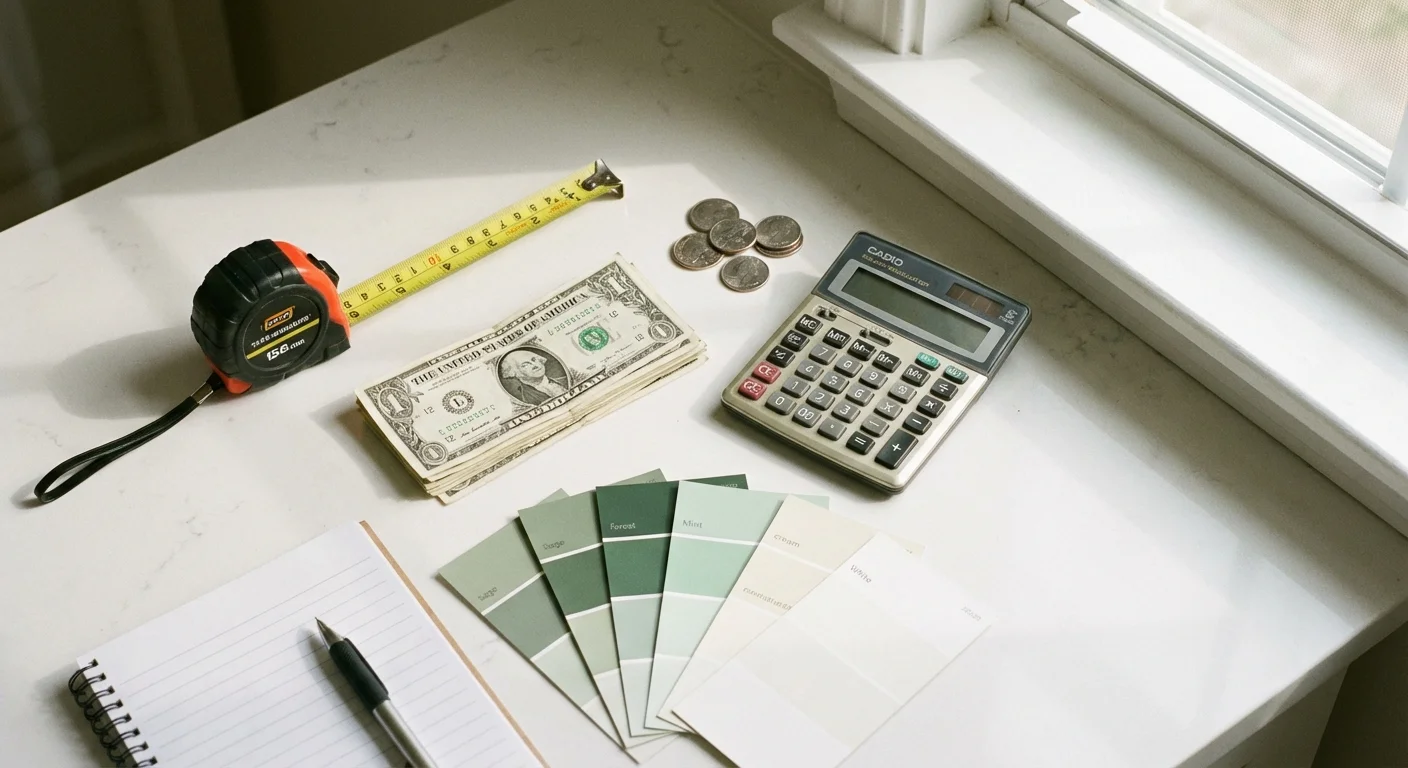
The $500 Budget Breakdown
To keep your costs under the $500 mark, you must be intentional about where you spend and where you save. A typical 10×10 foot kitchen requires roughly two gallons of high-quality cabinet paint and a single gallon of primer. Here is how you should allocate your funds to ensure a professional result:
| Item | Estimated Cost | Priority |
|---|---|---|
| High-Quality Cabinet Paint (2 Gallons) | $140 – $180 | High |
| Bonding Primer (1 Gallon) | $50 – $70 | High |
| New Cabinet Hardware (25-30 pieces) | $100 – $150 | Medium |
| Sandpaper, Degreaser, and Tack Cloths | $40 – $60 | High |
| Brushes and High-Density Foam Rollers | $30 – $50 | Medium |
| Total | $360 – $410 | – |
By staying within these ranges, you leave yourself a nearly $100 buffer for unexpected needs, such as a wood filler for old screw holes or extra painter’s tape. According to data from Wirecutter, investing in premium paint specifically formulated for cabinets—often called “alkyd-emulsion” paint—saves you money in the long run because it resists chips and stains far better than standard wall paint.
“The goal isn’t to be cheap—it’s to be intentional.”
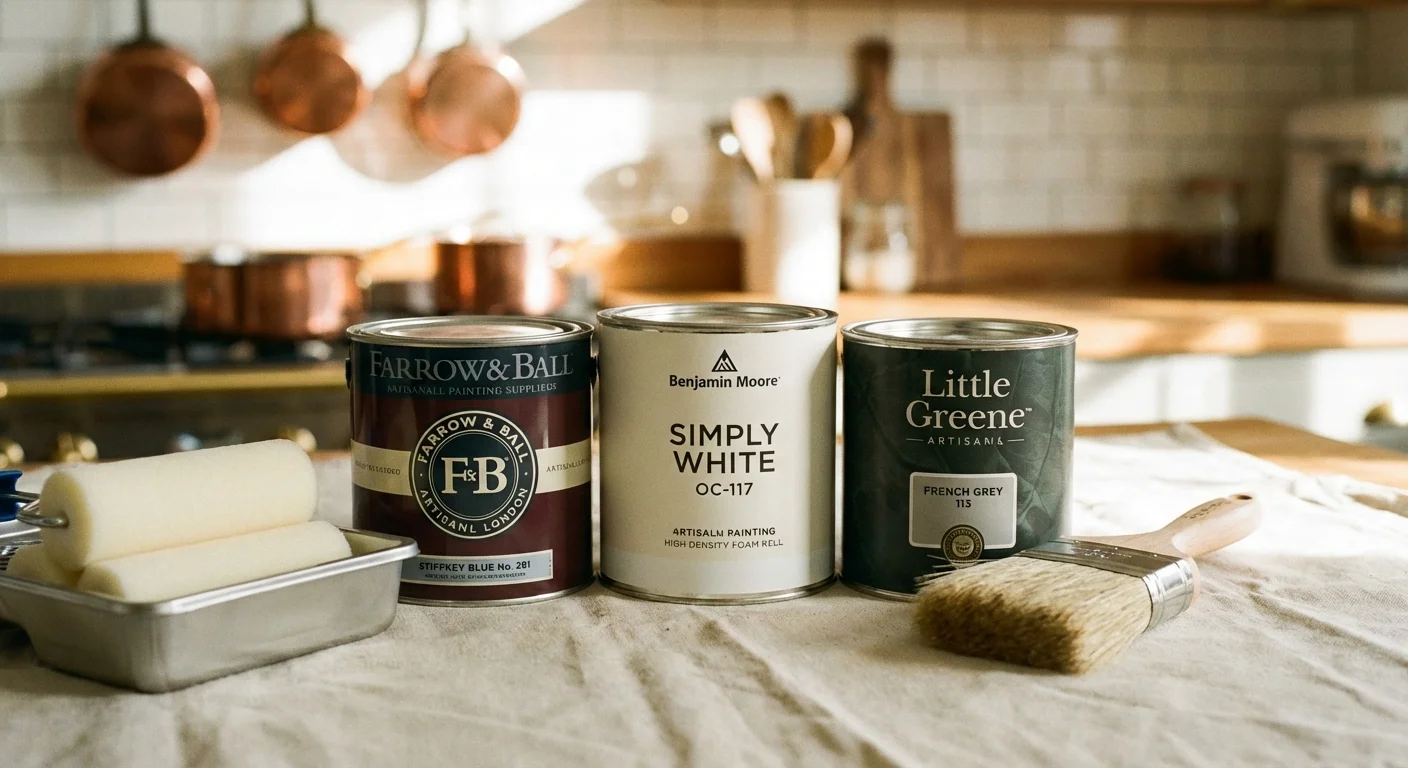
Selecting Your Materials for DIY Cabinet Painting
Choosing the right paint is the most critical decision in your cheap kitchen updates. Standard latex wall paint is too soft for the high-traffic environment of a kitchen. It will eventually “block,” meaning the doors will stick to the frames, and it will likely peel within a year. Look for water-borne alkyd paints. These provide the durability of oil-based paint with the easy cleanup of water-based options.
For hardware, consider the finish carefully. Brushed brass, matte black, and satin nickel are currently popular and widely available at various price points. Before buying a bulk pack, check the “center-to-center” measurement of your existing pulls. This is the distance between the two screw holes. If you choose hardware with the same measurement, you avoid the tedious task of filling old holes and drilling new ones.
Preparation: The Secret to a Durable Finish
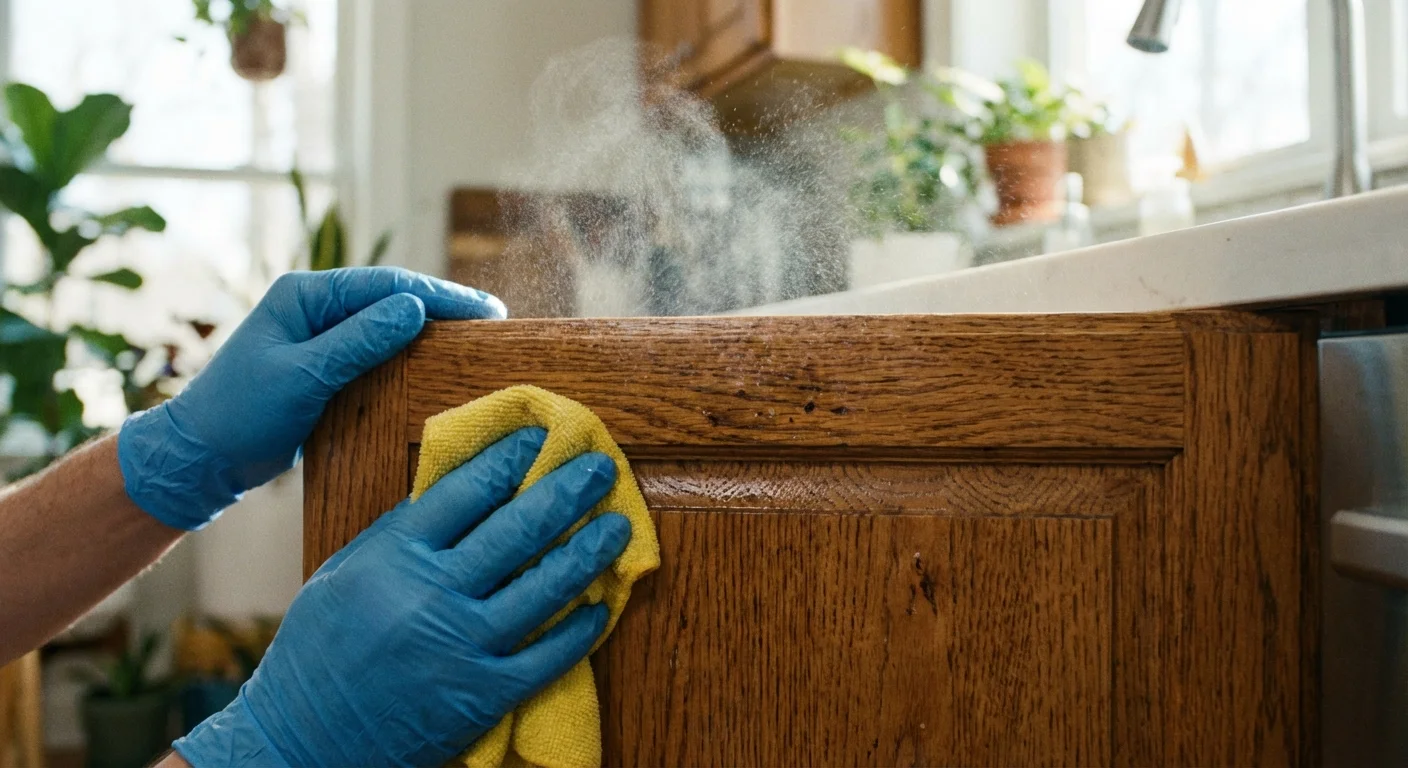
You might feel tempted to start painting immediately, but 80% of a professional-grade kitchen refresh happens before the brush even touches the wood. Kitchen cabinets are coated in a layer of grease, steam, and cooking oils that prevent paint from sticking. If you skip the cleaning phase, your new finish will eventually slide right off the surface.
- Label everything: Use painter’s tape to number each door and its corresponding cabinet opening. Write the number on a piece of tape and place it in the hinge pocket where it won’t be painted.
- Degrease thoroughly: Use a dedicated heavy-duty cleaner like TSP (Trisodium Phosphate) or a degreasing dish soap. Scrub every inch of the doors and the face frames.
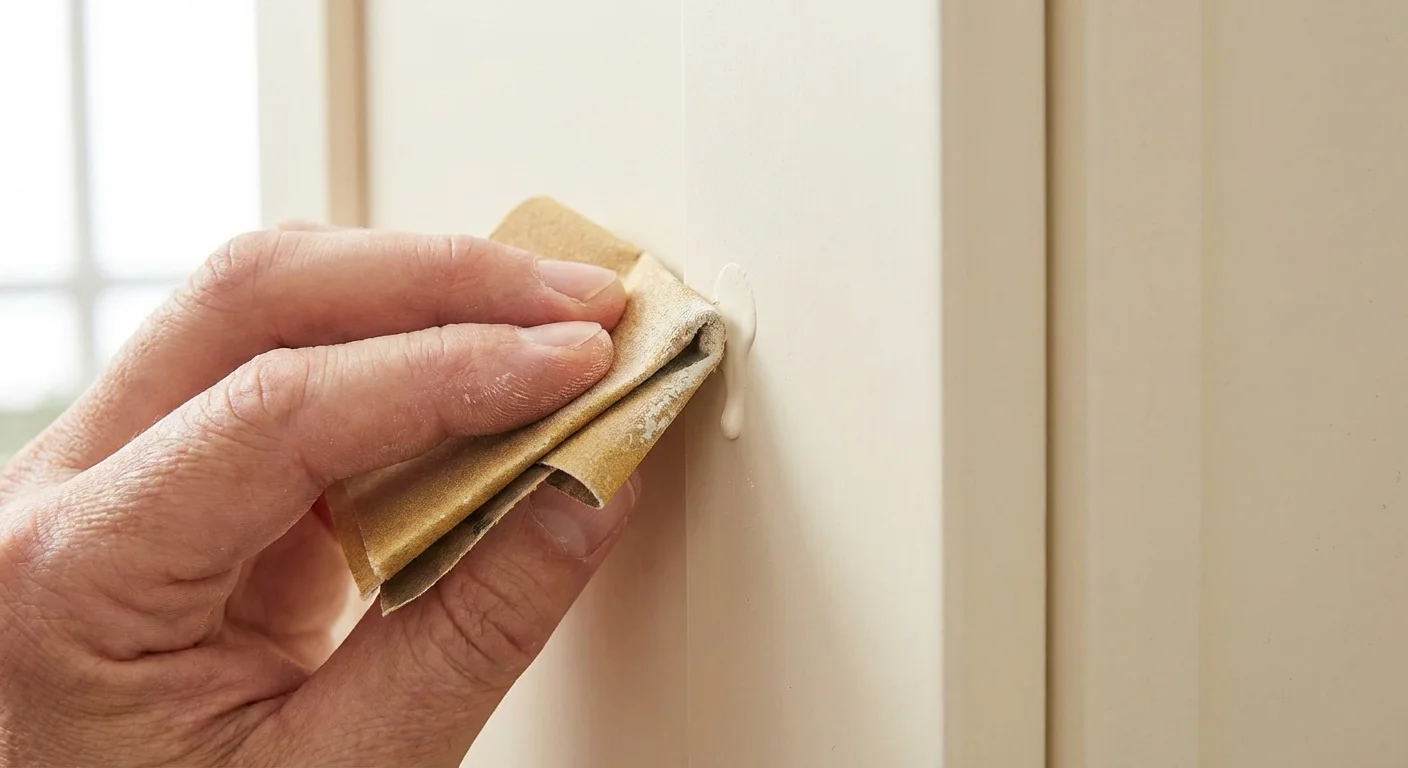
- Scuff sand: You do not need to sand down to bare wood. You only need to break the gloss of the existing finish so the primer has something to “bite.” Use 120-grit to 180-grit sandpaper for this step.
- Remove the dust: Vacuum the surfaces and follow up with a tack cloth. A single hair or speck of dust will create a visible bump in your final coat.
The Priming Phase: Don’t Cut Corners
A bonding primer acts as the bridge between your old finish and your new paint. If you are painting over laminate or previously stained oak, a standard primer won’t suffice. You need a high-adhesion primer. This is particularly important if you have “tannic” woods like oak or cherry. These woods contain natural oils that can bleed through white paint, turning your crisp new cabinets a muddy yellow over time. A stain-blocking primer prevents this chemical reaction.
Apply one thin, even coat of primer. Do not worry if it looks splotchy or doesn’t provide full coverage. The primer’s job is to create a bond, not to provide the final color. Once the primer is dry, lightly sand the surface with 220-grit sandpaper to knock down any raised grain or brush marks. This extra ten minutes of work ensures the final paint layer looks like a factory finish.
Executing the Paint Job
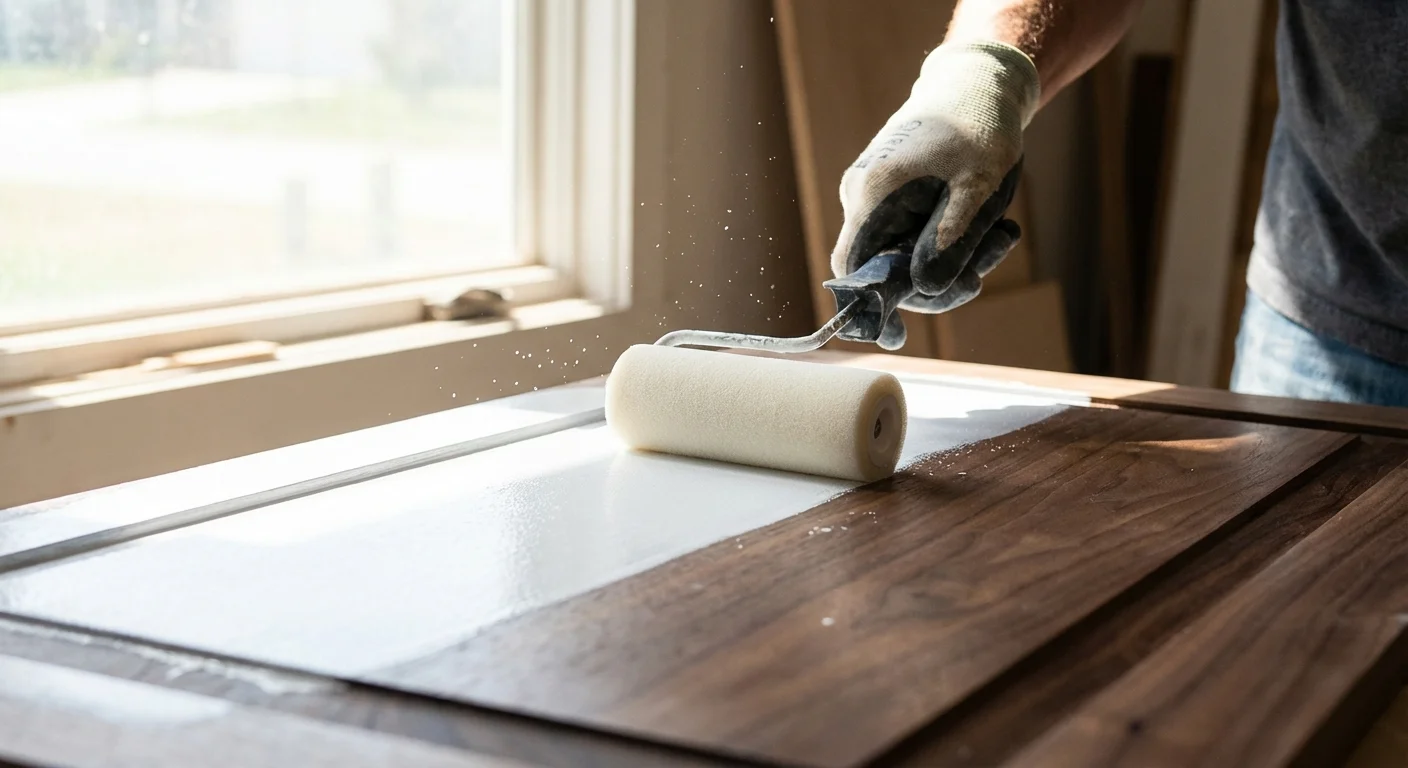
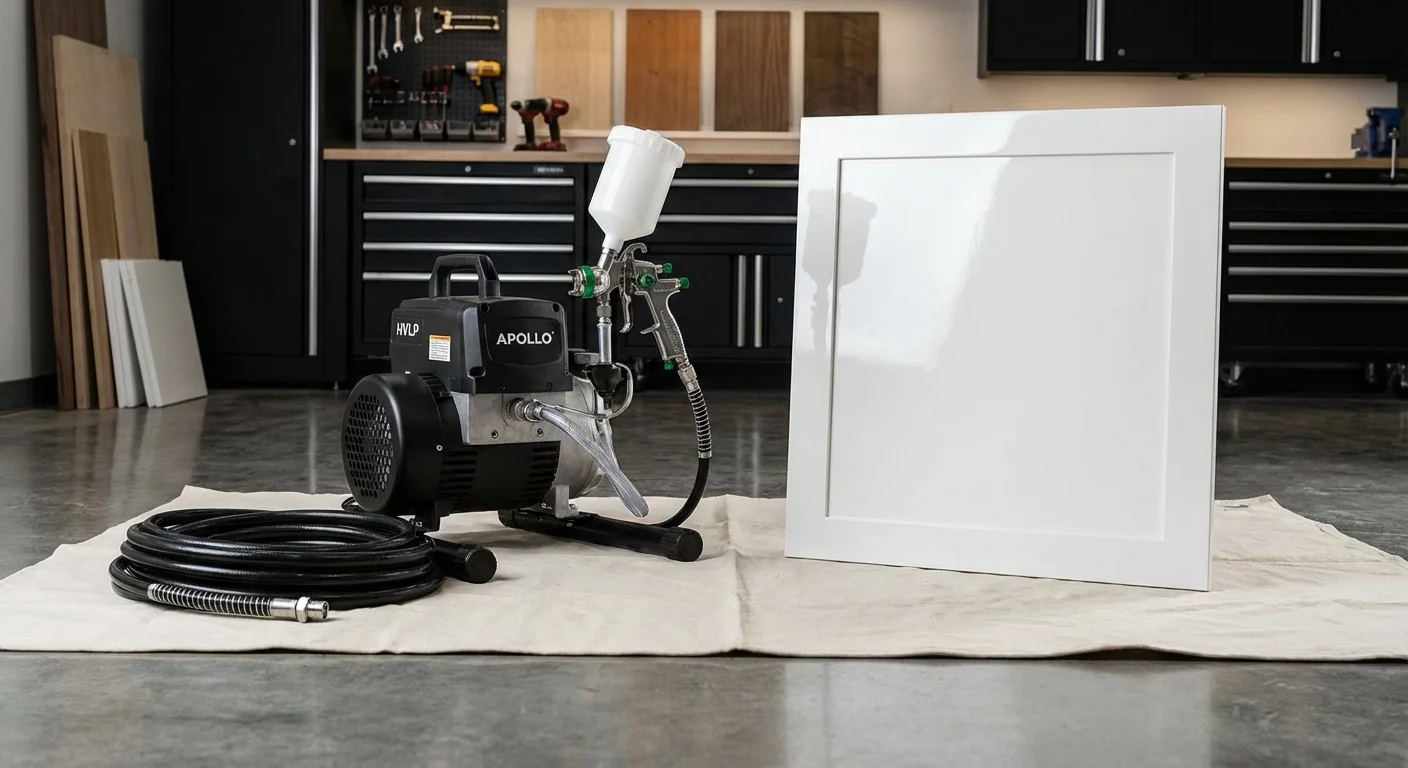
When you finally reach the painting stage, your technique determines whether the cabinets look “DIY” or professional. You have two primary options: a brush and roller or a HVLP (High Volume Low Pressure) sprayer. Since we are aiming for a budget under $500, a high-quality brush and foam roller set is usually the most cost-effective path. High-density foam rollers are designed for smooth surfaces and help avoid the “orange peel” texture left by shaggy rollers.
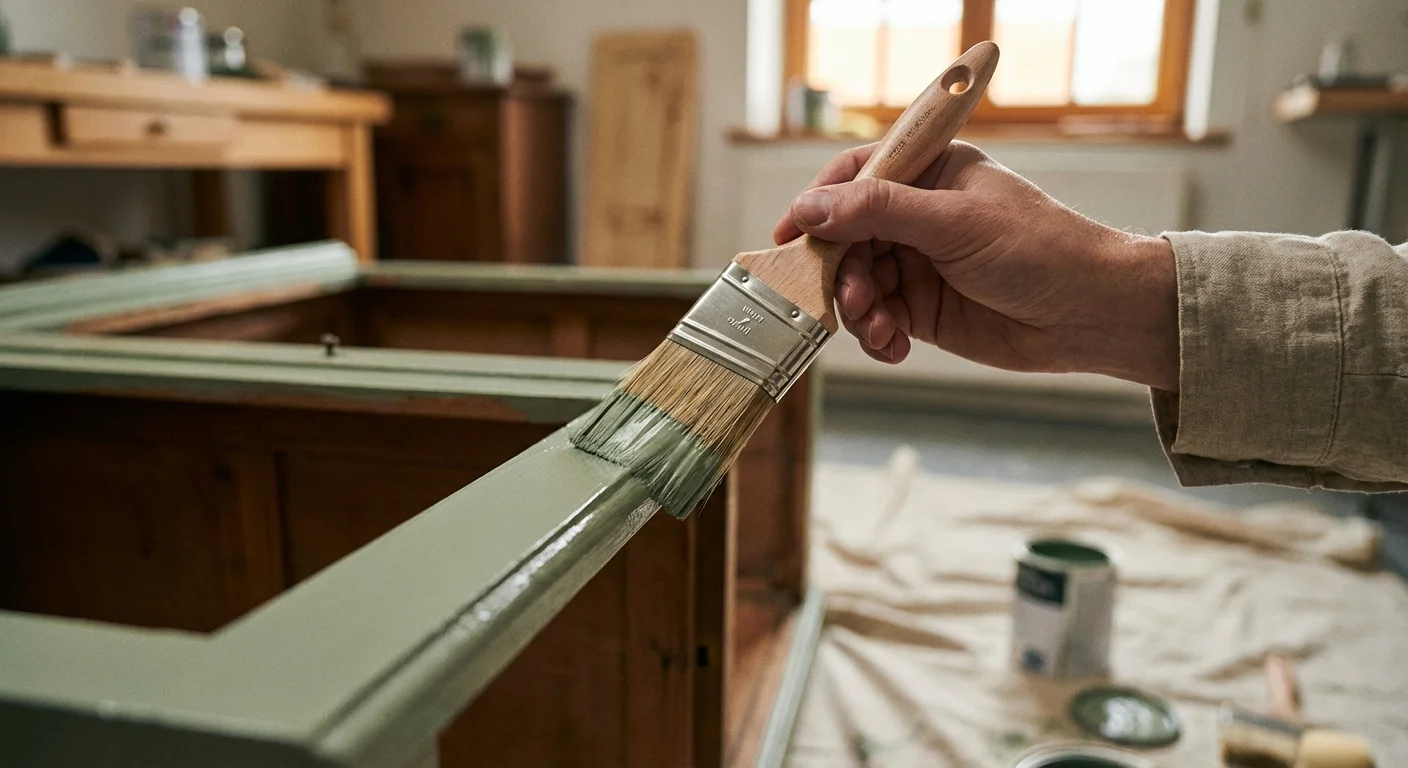
Start with the back of the doors. This allows you to practice your technique on a surface that won’t be seen every day. Use a high-quality angled sash brush to get into the corners of the door panels, then immediately follow up with the foam roller to smooth out the flat areas. Work in thin layers. Two or three thin coats are always superior to one thick coat. Thick coats lead to drips and take significantly longer to cure.
Allow at least 4 to 24 hours between coats, depending on the humidity and the manufacturer’s instructions. Patience is your greatest asset here. If the paint feels even slightly tacky, it is not ready for the next coat.
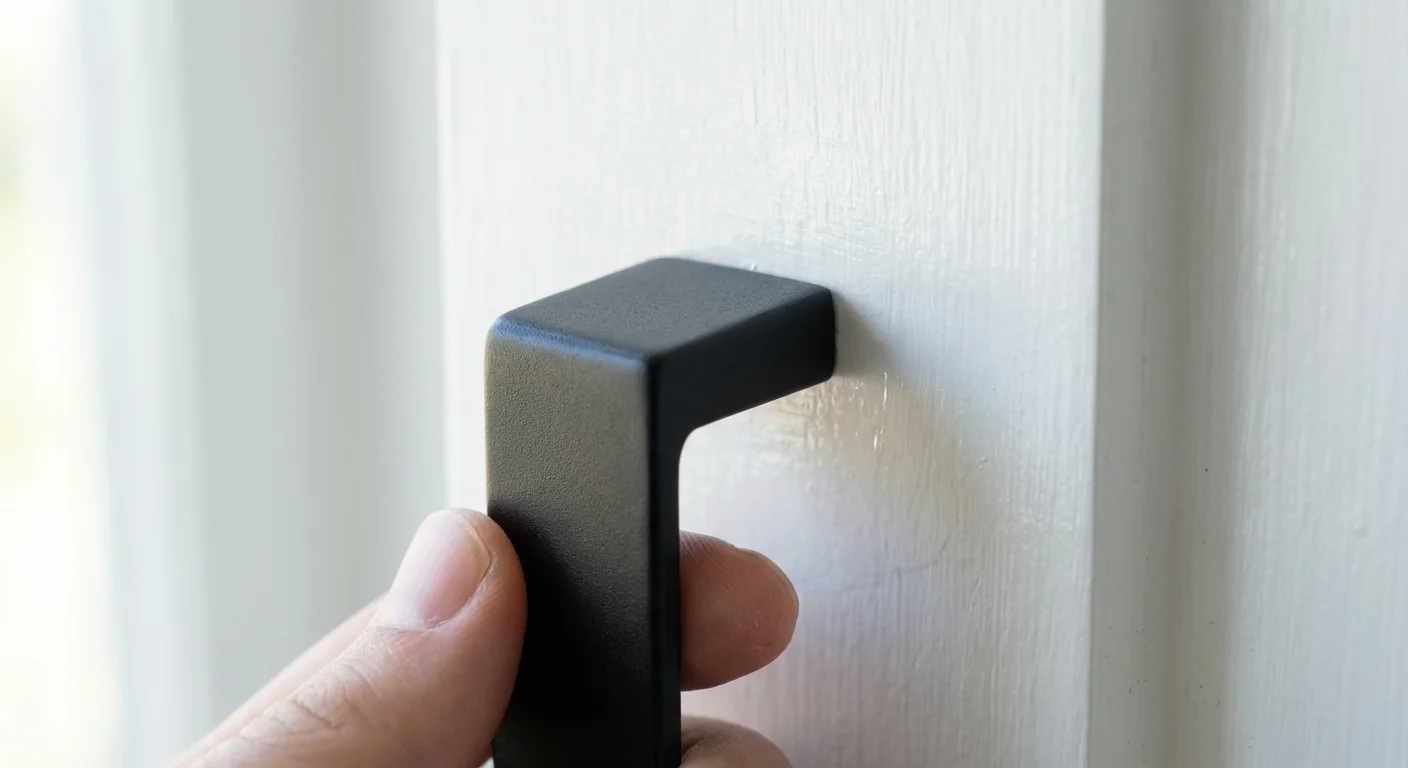
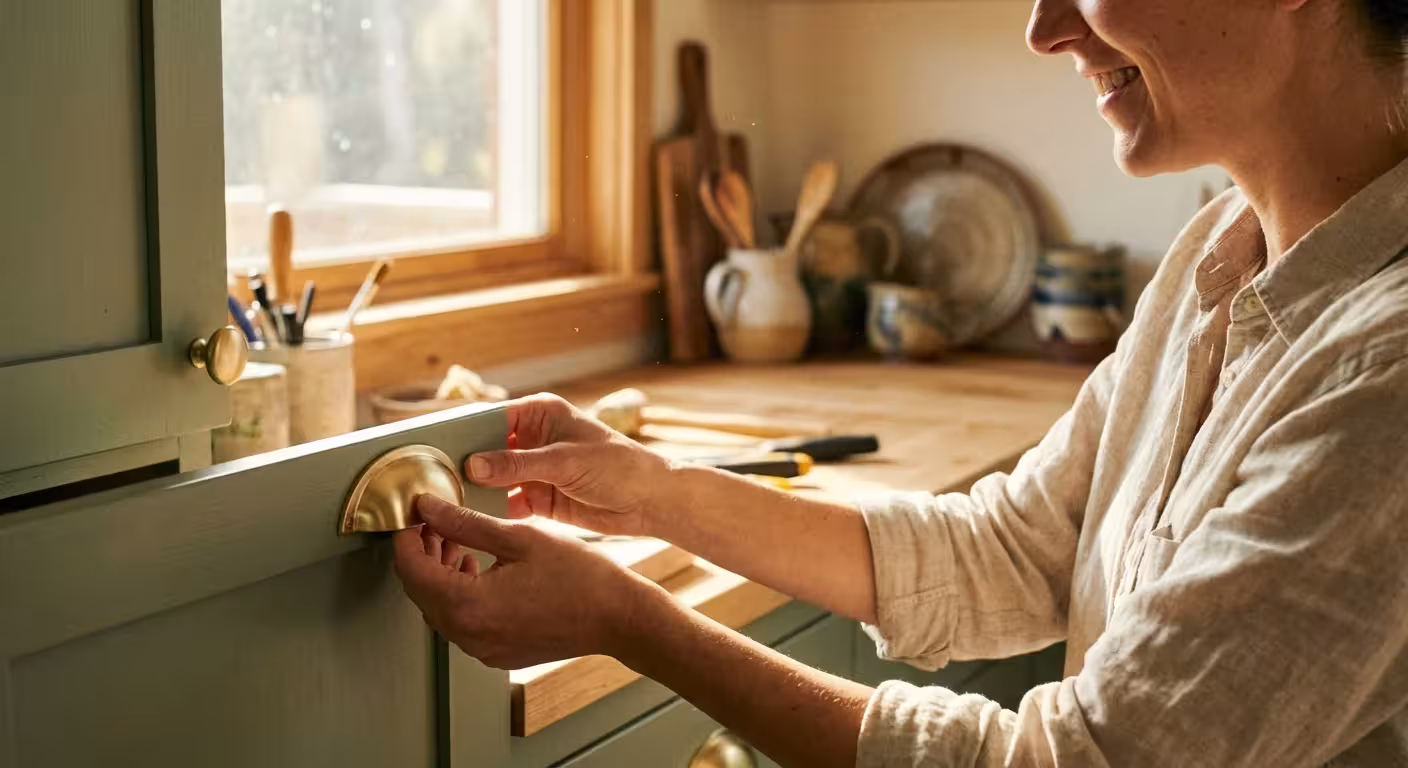
Swapping Hardware: The Kitchen’s Jewelry
New hardware is the finishing touch that elevates your DIY cabinet painting from a simple color change to a complete remodel. Hardware prices vary wildly, but you can find high-quality options by shopping at bulk retailers or specialized online hardware stores. According to Clark Howard, shopping for hardware in bulk sets of 10 or 25 can save you 40% to 60% compared to buying individual pieces at big-box home improvement stores.
If you want to modernize the look without drilling new holes, consider “cup pulls” for drawers or sleek “bar pulls” for cabinets. If you are moving from small knobs to larger pulls, you will need to use wood filler on the old holes, sand them smooth, and paint over them before installing the new hardware. A simple plastic hardware template, which costs about $5, ensures that every handle is perfectly aligned and level across your entire kitchen.
When It’s Worth Paying
While this guide focuses on the DIY approach, certain scenarios justify spending a bit more or hiring professional help. You should consider your limits before you begin a project of this scale.
- Lead Paint Concerns: If your home was built before 1978, your cabinets might have lead-based paint. In this case, consult the EPA guidelines on lead-safe renovation. It is often worth paying a professional for lead abatement rather than risking your health by sanding.
- Major Structural Repairs: If your cabinet boxes are rotting, molded, or sagging, paint won’t fix the problem. You may need to replace the base units entirely, which will push you over the $500 budget.
- Professional Spraying: If you absolutely demand a mirror-smooth, factory finish and have no experience with a brush, paying a local shop to spray just the doors can be a middle-ground solution. You paint the frames, they spray the doors.
Don’t Fall For These Common Mistakes
The road to a failed kitchen refresh is paved with shortcuts. Avoid these four common errors to protect your investment of time and money.
1. Using “Paint and Primer in One”
These products are great for drywall but are generally insufficient for kitchen cabinets. Cabinets need a dedicated bonding primer to handle the constant opening, closing, and cleaning.
2. Forgetting to Clean the Undersides
Grease collects on the bottom edges of upper cabinets and the tops of lower ones. If you don’t clean these hidden areas, the paint will eventually peel from the edges and spread upward.
3. Reinstalling Doors Too Early
Paint can feel dry to the touch in two hours, but it takes weeks to fully “cure” or reach its maximum hardness. If you hang your doors and close them too soon, they will stick to the frames and pull the paint off when you open them. Wait at least 48 to 72 hours before reattaching doors, and use small clear “bumpers” to prevent direct contact between the painted surfaces.
4. Buying Hardware Without Testing
A handle might look great in a photo, but it could feel flimsy or sharp in your hand. Buy a single sample of your chosen hardware before committing to a 30-pack. Ensure your fingers fit comfortably behind the pull.
Maximizing Your Remaining Budget
If you followed the budget breakdown and have $50 to $100 remaining, you can add final touches that make the kitchen feel brand new. Consider these low-cost additions:
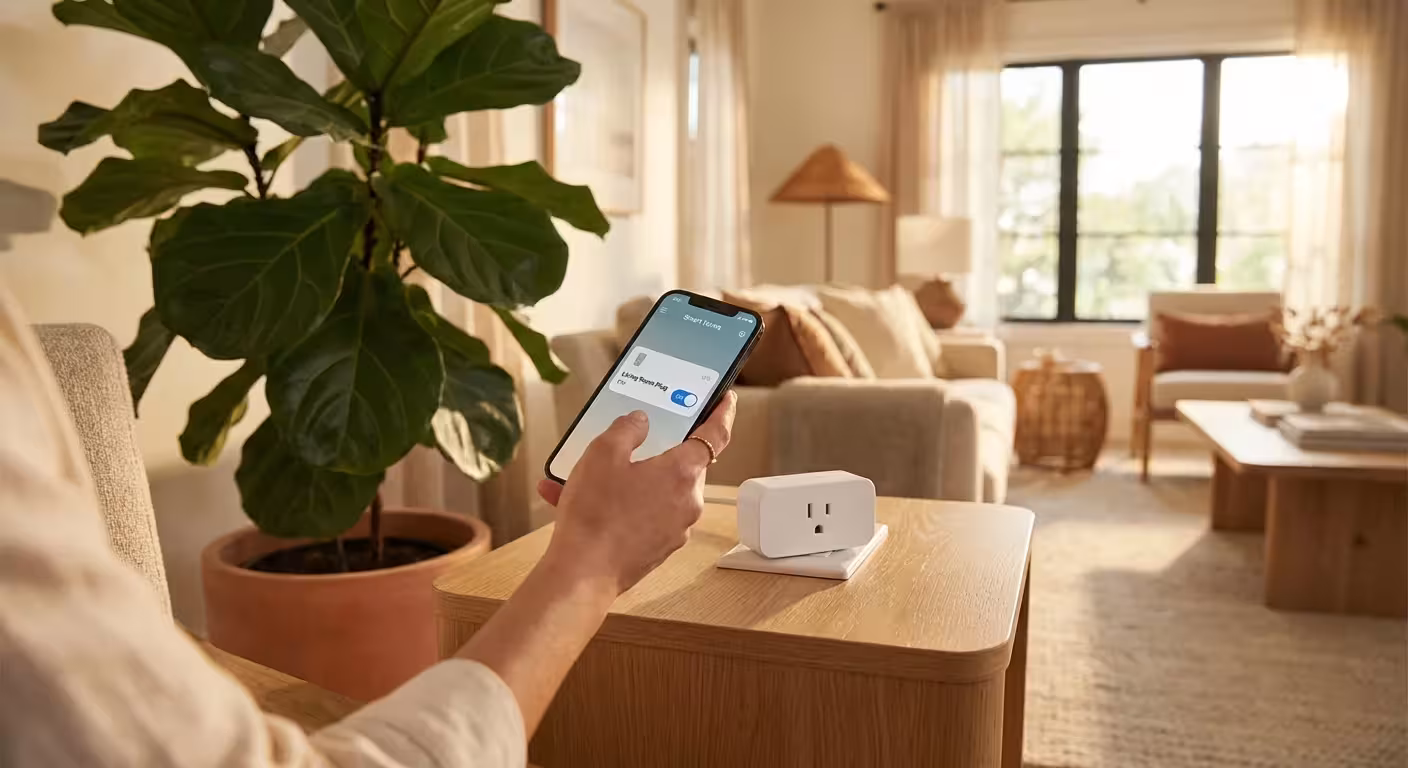
- Under-cabinet lighting: Battery-operated or plug-in LED puck lights can be found for $20-$40. They highlight your new paint job and provide functional task lighting.
- A new faucet: You can often find highly rated pull-down kitchen faucets for under $80 on sale. This further modernizes the space.
- Fresh caulk: Replacing old, yellowed caulk around the sink and backsplash costs less than $10 but makes the entire room look cleaner.
Frequently Asked Questions
How long does a $500 kitchen refresh take?
A typical DIY cabinet painting project takes about 4 to 7 days. Most of this time is spent waiting for paint to dry. You can expect to spend about 15-20 hours of actual active labor.
Can I paint laminate or thermofoil cabinets?
Yes, but you must use a high-adhesion “extreme bond” primer. Without a specialized primer, paint will not stick to the plastic-like surface of laminate. If the thermofoil is peeling, you should remove it entirely and paint the MDF core underneath.
Do I need to take the doors off?
Yes. Painting cabinets while the doors are attached leads to drips, missed spots, and painted hinges. For a professional look, lay the doors flat on a workbench or sawhorses.
What is the best color for resale value?
White, off-white, and light gray remain the safest choices for resale. However, “tuxedo kitchens” (dark lower cabinets and white upper cabinets) are a popular way to add personality without overwhelming the space.
“Beware of little expenses; a small leak will sink a great ship.” — Benjamin Franklin
This principle applies perfectly to kitchen renovations. By focusing on the high-impact areas of cabinets and hardware, you prevent the “scope creep” that turns a simple refresh into a financial burden. Stay intentional with your purchases, respect the preparation process, and you will transform your kitchen into a space you actually enjoy using.
Start your project on a Friday evening by cleaning and labeling. By the following Sunday, you can have a kitchen that looks like it cost thousands of dollars for a fraction of the price. Your bank account—and your home’s value—will thank you.
Prices and availability mentioned reflect research at the time of writing and may vary by location and retailer. Your actual savings will depend on your specific situation and shopping habits.
Last updated: February 2026. Prices change frequently—verify current costs before purchasing.


Leave a Reply